Easy Draw a Woodpecker Tutorial and Woodpecker Coloring Page
Below you’ll find an easy step-by-step tutorial for how to draw a Woodpecker and a Woodpecker Coloring Page. That red cap of feathers says exactly who he is.
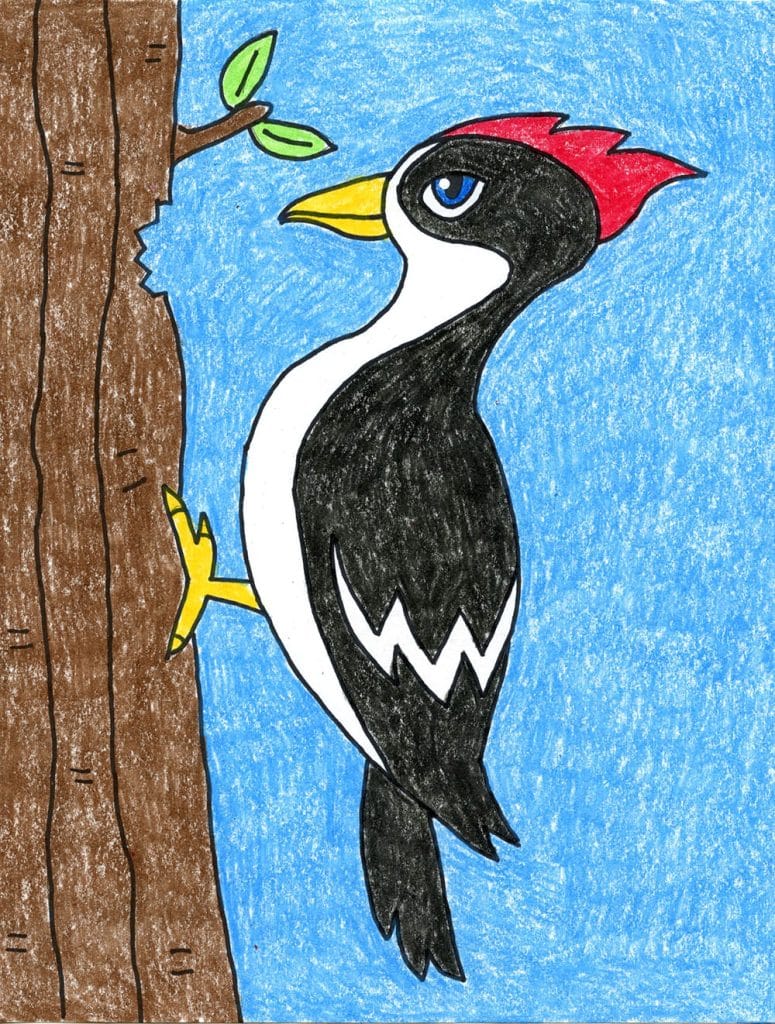
Here’s a tutorial for how to draw a woodpecker that combines some of my favorite elements for animal drawing projects. It’s always good, of course to learn what a particular animal, or bird, really looks like. A good dose of realistic details is always useful, which is why this bird does have the red cap and patterned wing and pointy beak. But after that, why not have a little fun with the face, particularly the eye? Swap out the average bird eye for human-looking one, and you suddenly have a bird that seems very relatable, and who wouldn’t want to draw one like that. If you mix a little of those two worlds – realism and fantasy – you just might engage a few more students, and that’s always a good thing.
Use the Button below to download a PDF Tutorial
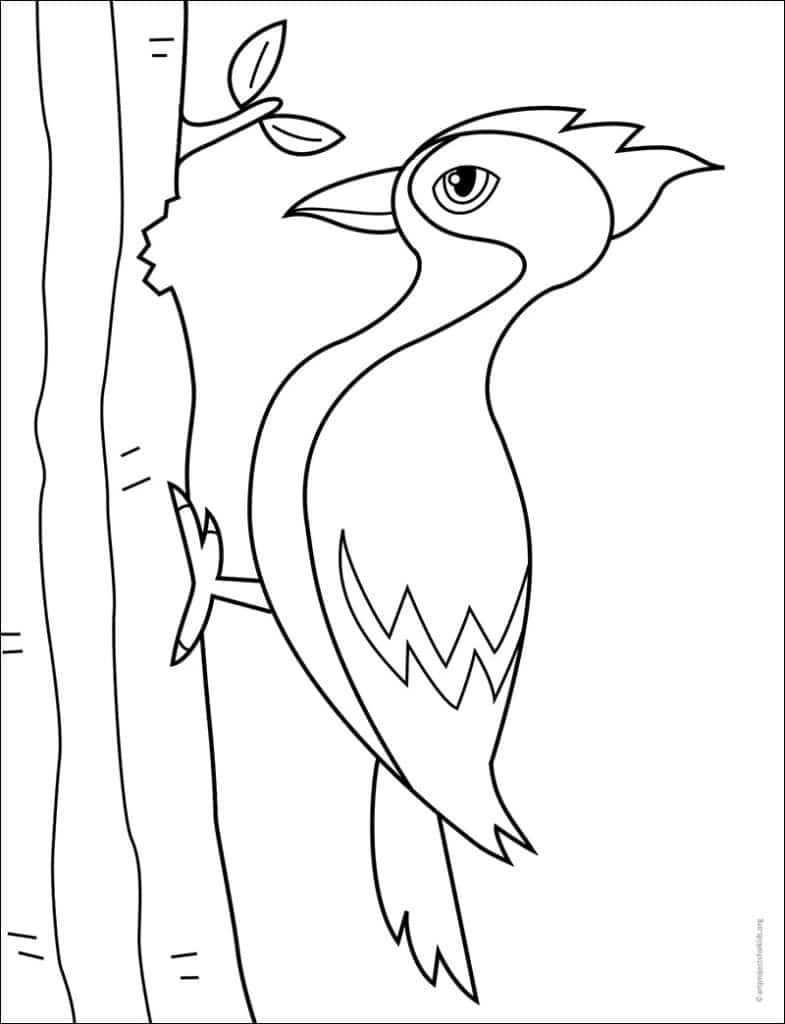
Woodpecker Coloring Page
Materials
- Drawing Paper. This is the good stuff you can buy in bulk for a good price.
- Pencils. I like how this brand always makes nice dark lines.
- Black Marker. A permanent marker will give you a dark black color.
- Crayons. The larger packs are nice for more color choices.
- Note: All of the above are Amazon affiliate links.
Step by Step Directions
Time needed: 45 minutes
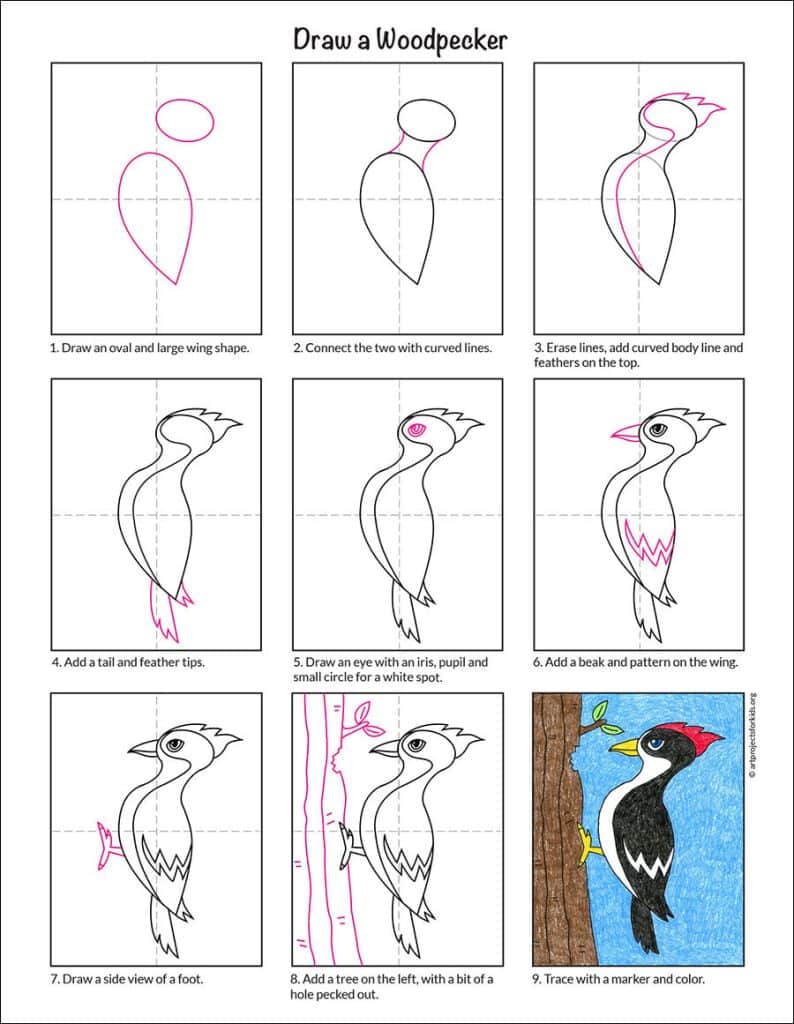
Easy Woodpecker Drawing
- Draw an oval and large wing shape for the body.
- Connect the two shapes with curved lines.
- Erase the extra lines and add a curved body line. Add feathers on the head.
- Add a tail and feather tips to the wing.
- Draw an eye with an iris, pupil and a small circle for a white spot.
- Add a beak and a pattern on the wing.
- Draw a foot with pointy claws.
- Add a tree, include a hole that the bird is pecking.
- Trace with a marker and color.


