Easy How to Draw a Zebra Tutorial and Zebra Coloring Page
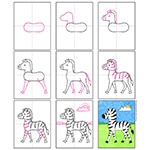
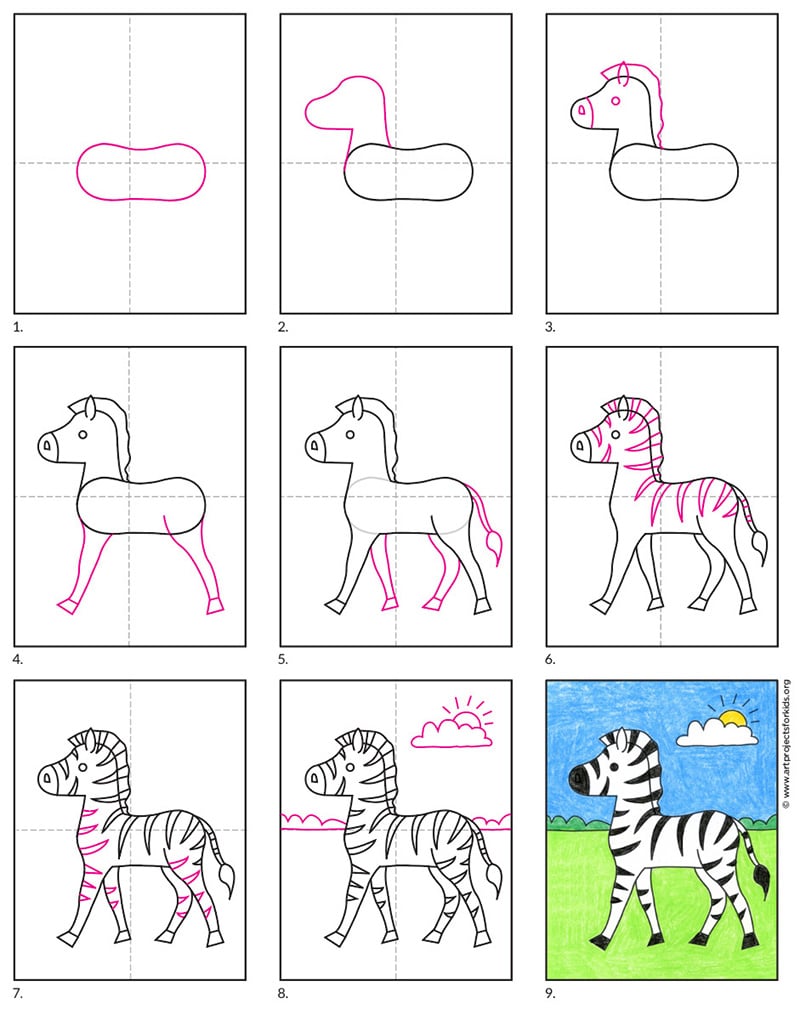
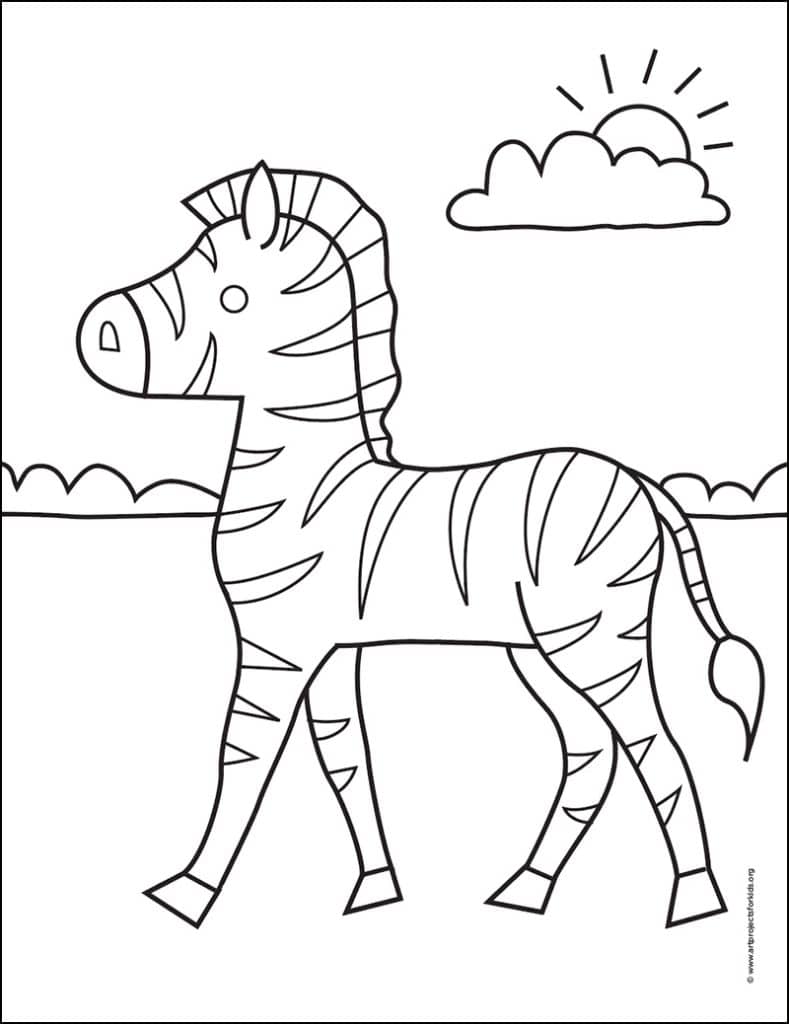
Below you’ll find an easy step-by-step tutorial for how to draw a Zebra and a Zebra Coloring Page. It helps to get some tips on how to draw all those stripes!
If your students would like to learn how to draw a zebra, and make it look a little more realistic, without getting too frustrated, then this might be just what you are looking for. This drawing tutorial will show them how to make that basic body shape, which looks a lot like a horse, but then add all those stripes that make them look so unique.
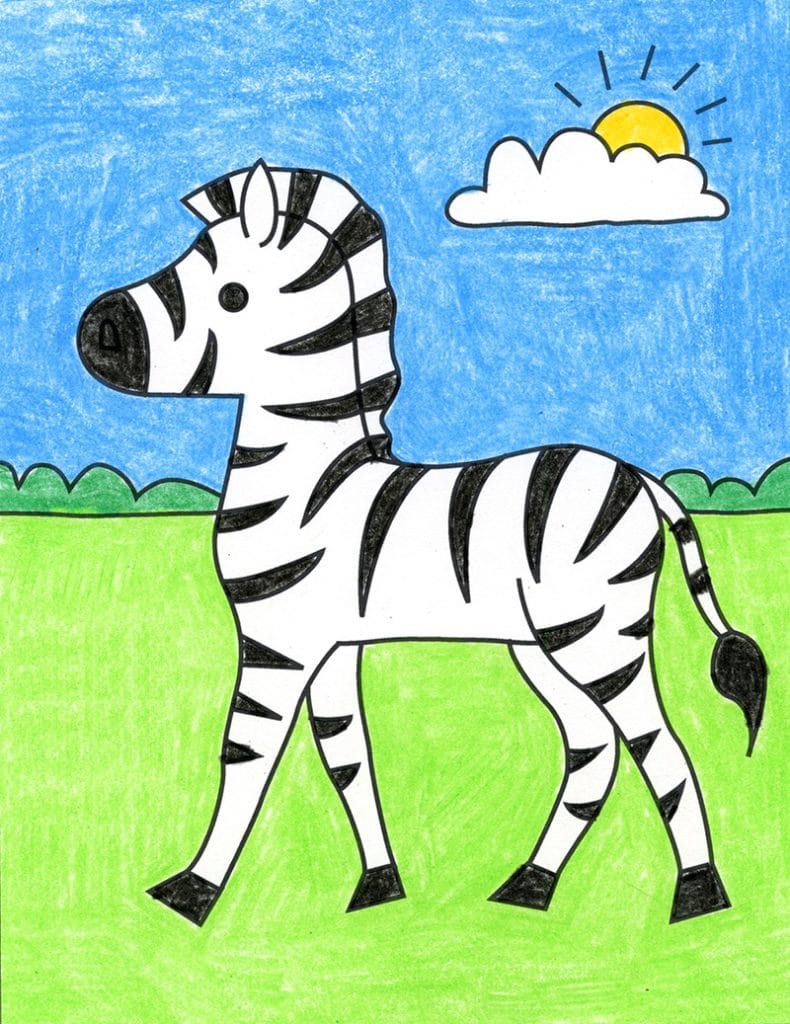
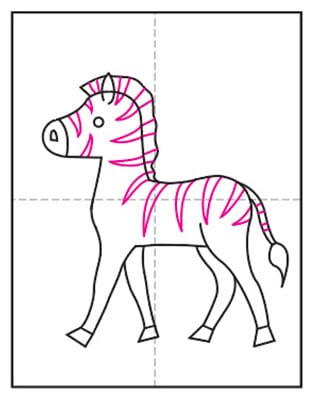
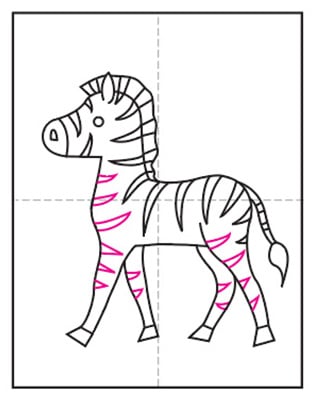
Students that are just learning how to draw can add all those little triangles with straight lines, and their zebra will look just fine. But those that want to take on more of a challenge can try to make them curved just a bit, as is seen on the back of the zebra in my example. Those curves go a long way in making a zebra look more dimensional, and not quite so flat.
Use the Button below to download a PDF Tutorial
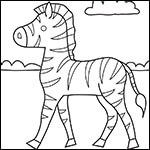
Zebra Coloring Page
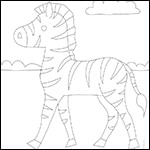
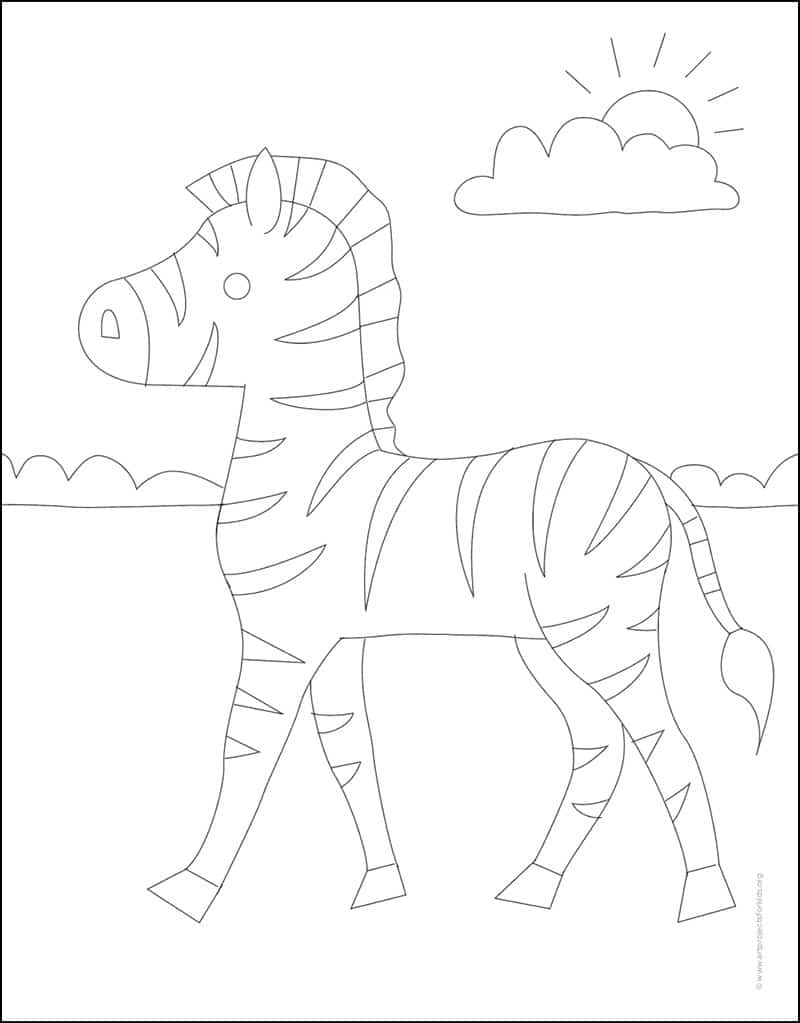
Zebra Tracing Page
Materials for Zebra Drawing
- Drawing Paper. This is the good stuff you can buy in bulk for a good price.
- Pencils. I like how this brand always makes nice dark lines.
- Black Marker. A permanent marker will give you a dark black color.
- Crayons. The larger packs are nice for more color choices.
- Note: All of the above are Amazon affiliate links.
Step by Step Directions for Zebra Drawing
Time needed: 45 minutes
How to draw a Zebra Step by Step
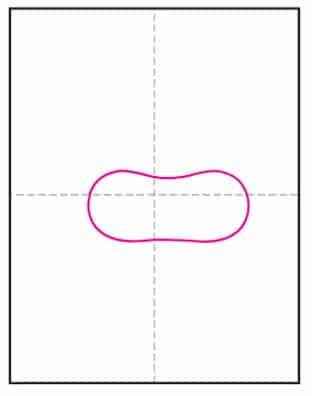
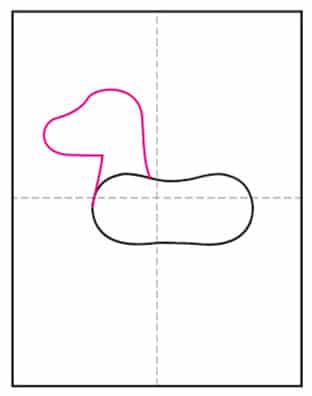
- Start by drawing a bean shape.
- Add the neck and head like this.
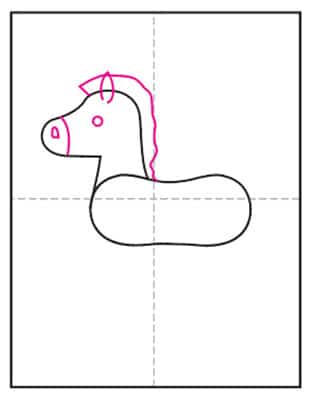
- Draw the head details as shown.
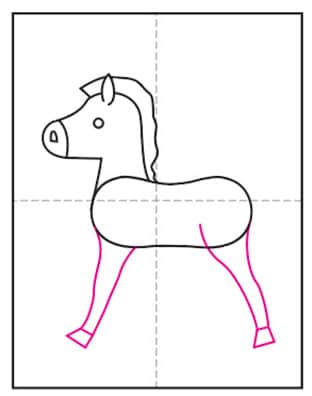
- Add two extended legs.
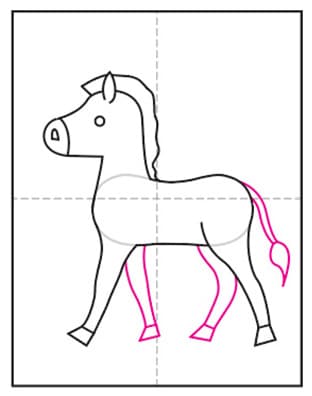
- Draw the other legs and tail. Erase the extra lines.
- Start the stripes on the top, as shown below.
- Finish with the stripes on the chest.
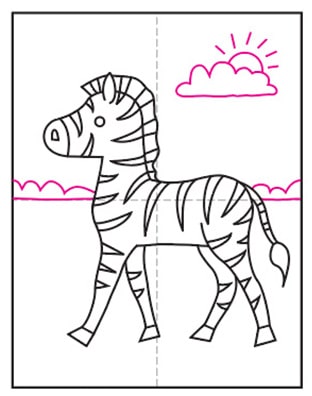
- Draw a background.
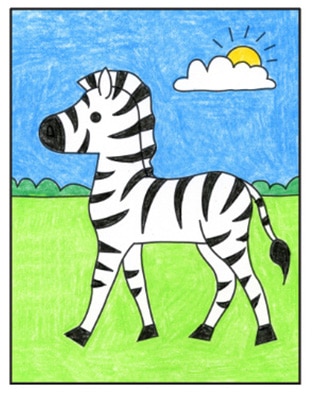
- Trace the lines with a marker and color.
More Safari Animals to Draw
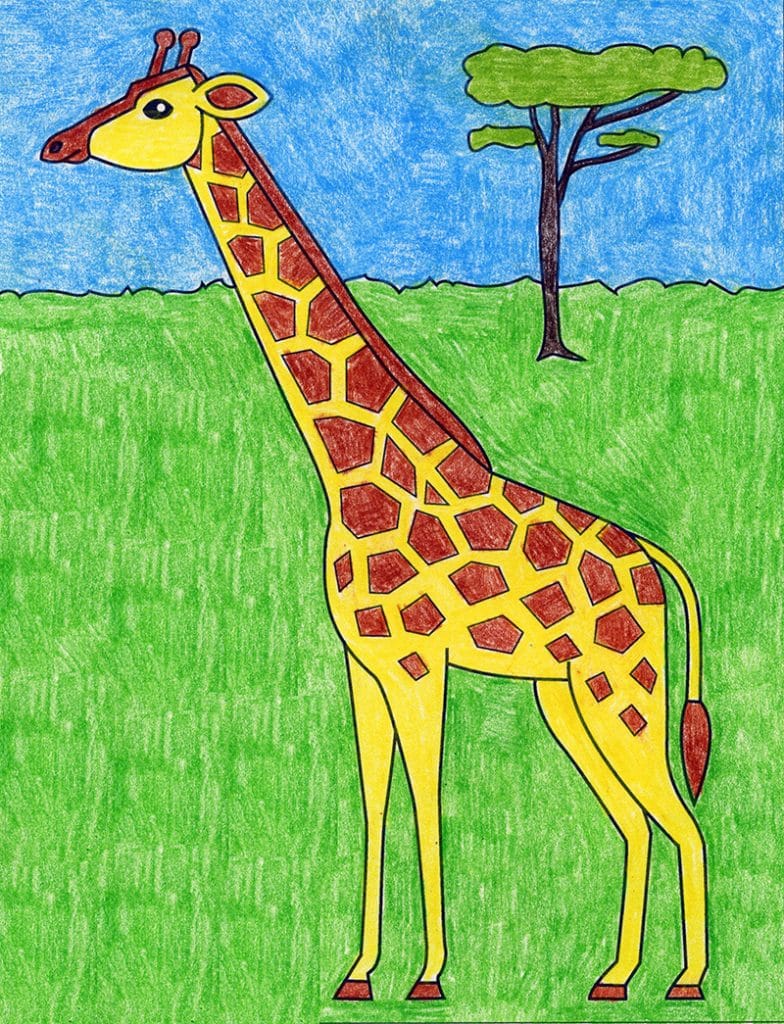
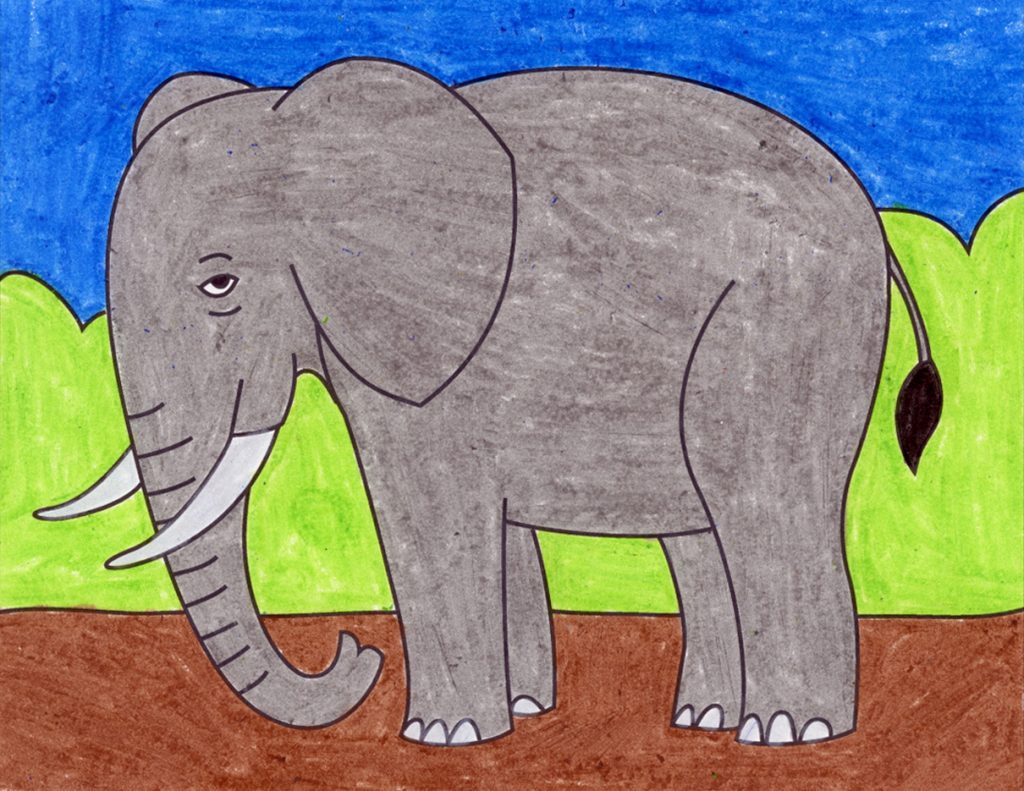
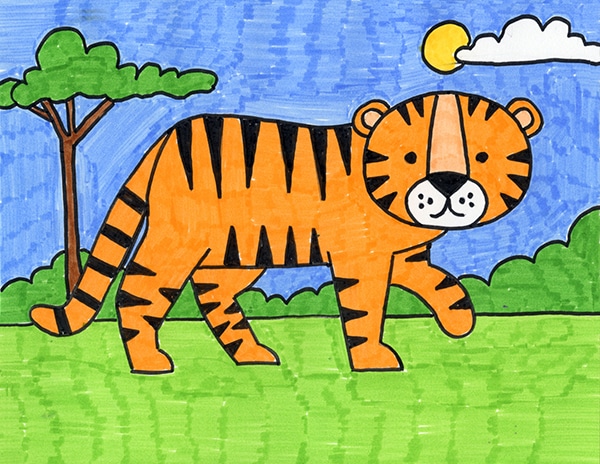
Giraffe Elephant Tiger
