Easy How to Draw a Guitar Tutorial
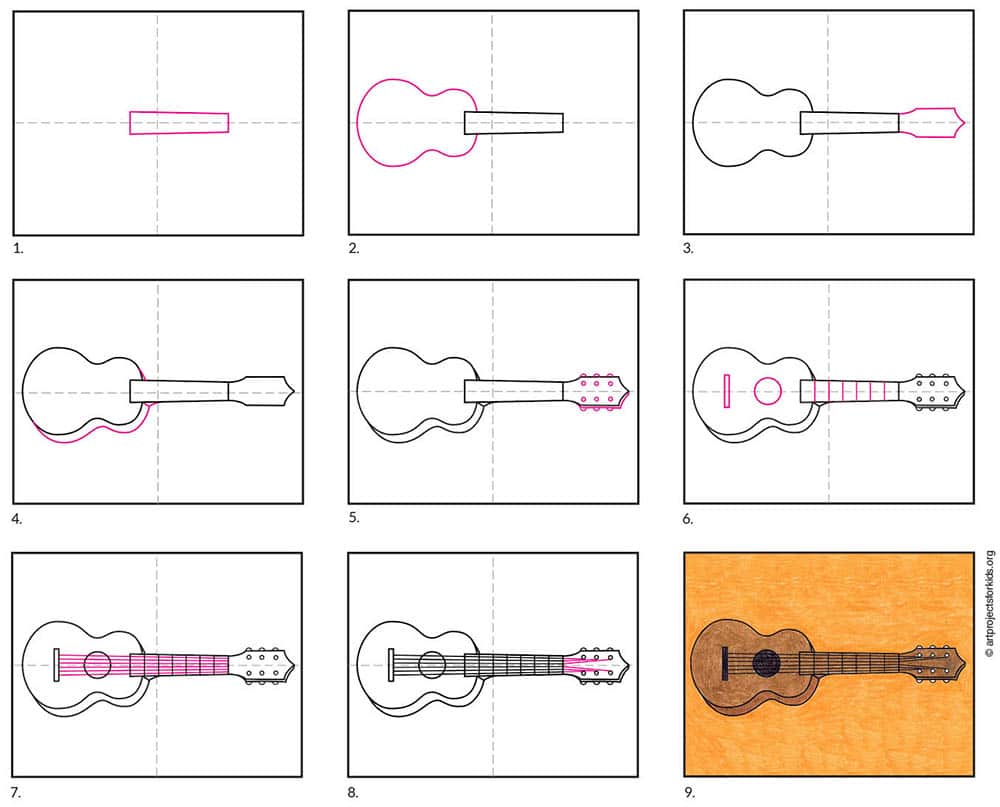
Here’s how to draw a guitar, one with a classic kind of look. The step by step tutorial shows how to add the strings and details in the right places.
The guitar consists of a hollow wooden body with six strings stretched over it and along a narrow neck. Guitars usually have a single, round sound hole in the body. The strings can be strummed with the fingers or plucked. Some guitarists use a plectrum (triangular piece of plastic) to sound the strings.
Guitars can be divided into two broad categories, acoustic and electric guitars. Within each of these categories, there are also further sub-categories. For example, an electric guitar can be purchased in a six-string model (the most common model) or in seven- or twelve-string models. Acoustic guitars have several notable subcategories, including classical and flamenco guitars; steel-string guitars, which include the flat-topped, or “folk” guitar.
This tutorial will show students how to draw the classic acoustic type of guitar. It is a very symmetrical shape to draw, so placing it on its side will help get the top and bottom half to match.
Use Button below to download a PDF Tutorial
How to Draw a Guitar Step by Step Materials
How to Draw a Guitar Directions
Time needed: 35 minutes
How to Draw a Guitar
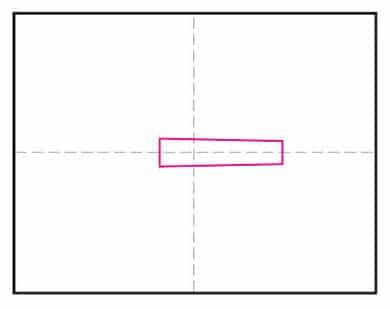
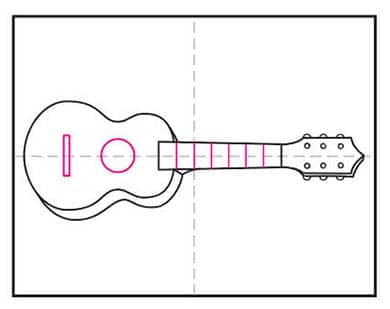
- Draw a rectangle for the neck.
- Add the symmetrical body shape.
- Draw the end of the neck.
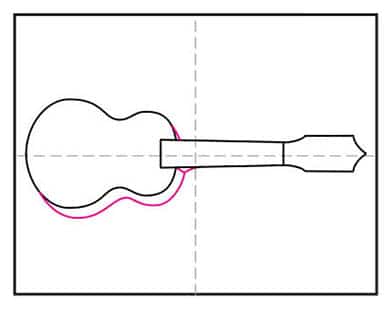
- Add the side lines of the body.
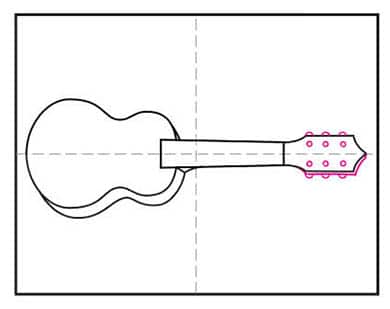
- Draw the tuning pegs.
- Add the sound hole and the fret wires.
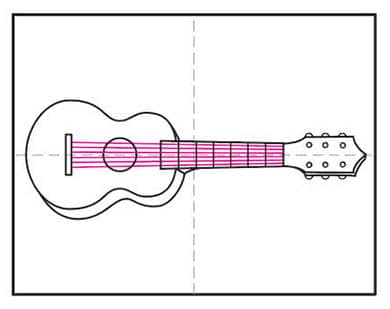
- Start the strings lines along the neck.
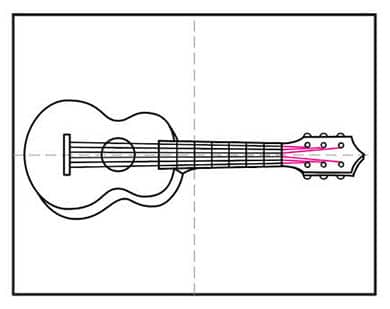
- Finish the lines at the tuning pegs.
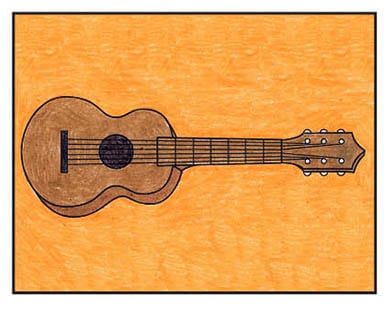
- Trace with a marker and color.
