Easy How to Draw a Dog Tutorial Video and Dog Drawing Coloring Page
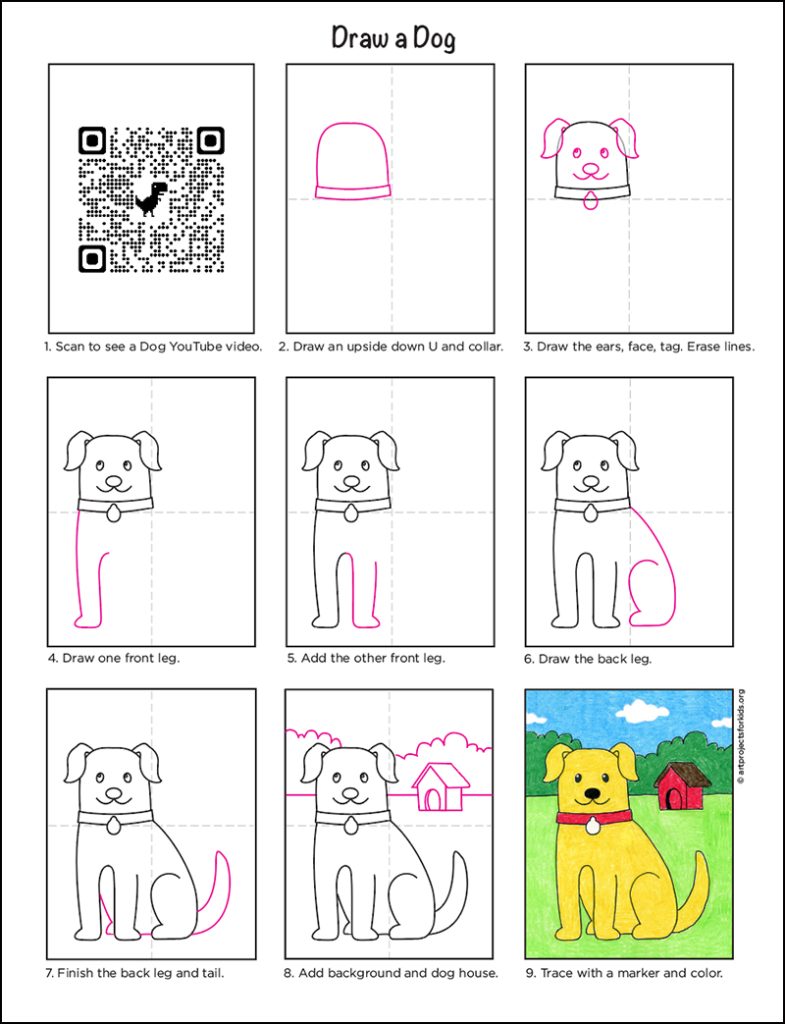
Below you’ll find an easy step-by-step How to Draw a Dog Tutorial Video and Dog Coloring Page. Scroll down to learn more and download yours for free.
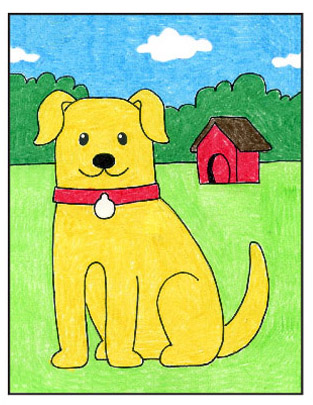
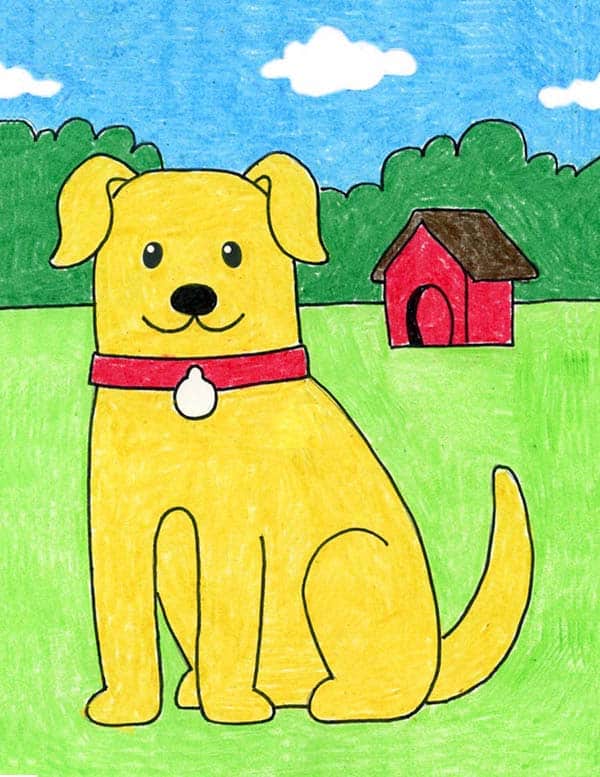
Drawing of a Dog
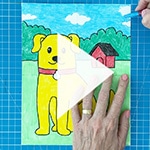
How to Draw a Dog Tutorial Video
There are lots of good reasons to learn how to draw a dog. In addition to being ‘man’s best friend’, they are about as intelligent as a two-year-old, and can learn about a hundred words and gestures. One recent study showed that some very gifted dogs can even learn as many as 12 new words per week – and usually still remember them after a two-month lapse.
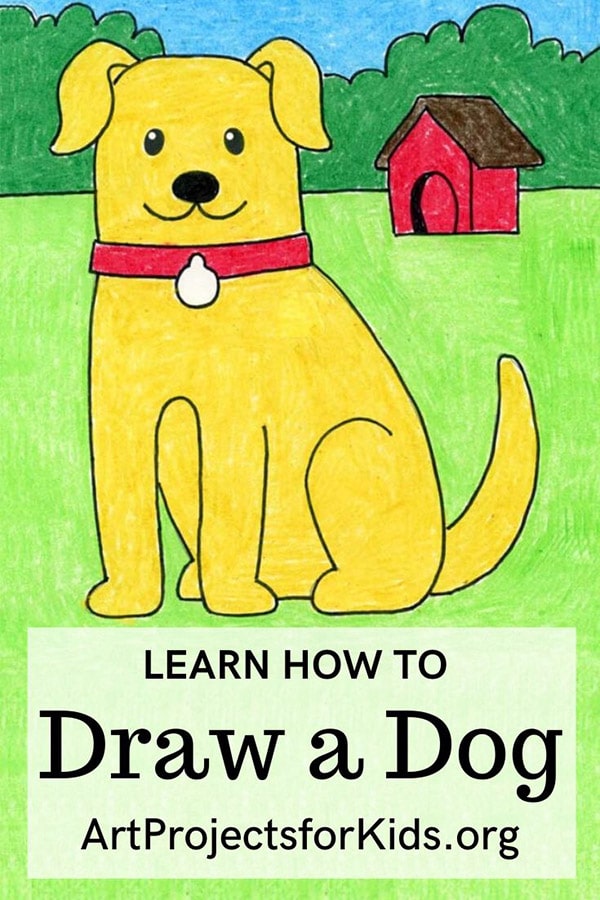
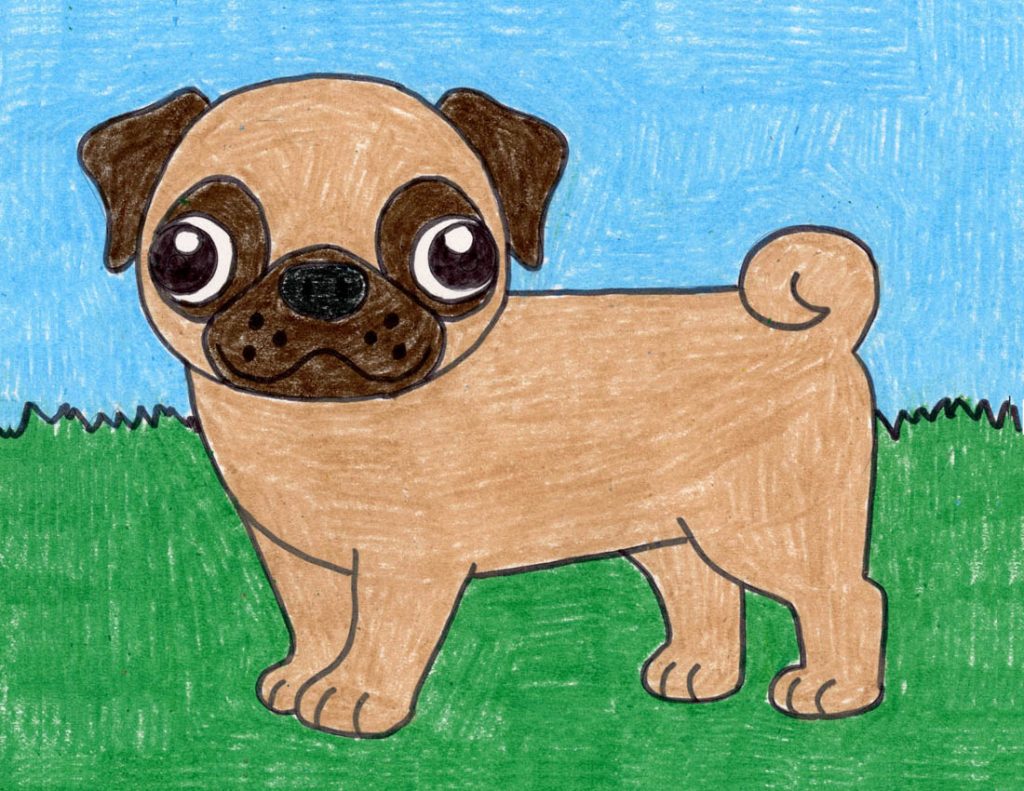
When it comes to drawing a dog, front views are nice, and they make for easy symmetrical drawings, but sometimes you want to see a bit of the side too. This tutorial will help students draw a dog with a simple face and slightly turned body. It makes the dog look a bit more active, and allows room to really showcase the tail too.
Save this tutorial for your younger elementary students that are ready to draw a dog with a little more detail. The floppy ears and legs that are more than just straight lines are easy to do, and look a lot more like the shapes they can see on real dogs around them.
Getting Started with Drawing Guides
The best way to get students off to a good start to any drawing lesson is to show them how to use guides as a reference point.
You may have noticed that all of the tutorials on this website have a dashed vertical line and horizontal line running through the center of each step. If students make their own centered lines on their own paper, before drawing, they will have an easy reference to follow.
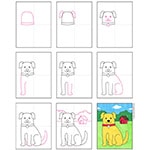
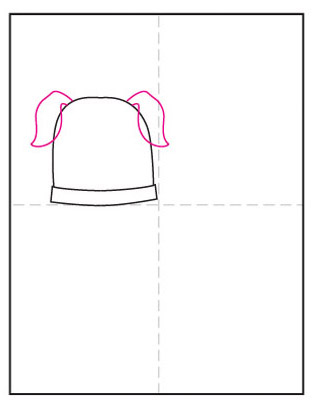
For instance, as seen in Step 1 below, this sketch starts with an upside down U shape in the top left corner. It’s easy to do when students can see where those two guides cross.
When students get their drawing off to a good start, there’s a better chance of them feeling successful by the time they are done. Drawing skills are all about getting the size and placement of lines on paper. Having some visual reference point to get started, will always help anyone learn how to be a little more accurate.
So does that mean students need to get out a ruler to draw a big line down the center of their paper before they start? No, that will most likely be hard to erase and distract from any finished art. Instead, they simply fold the sheet of paper in half both ways, make a crease, and unfold. The beauty is that by the time the drawing is done and colored in, the creases will disappear.
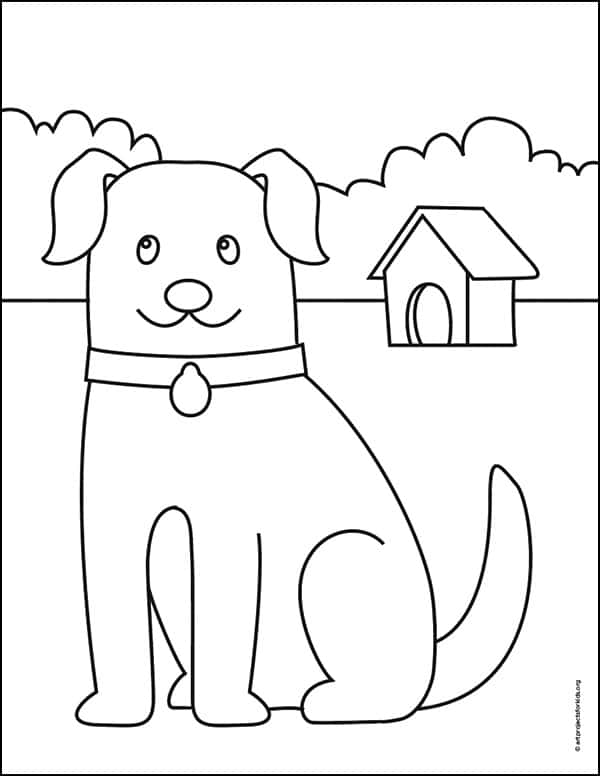
Join “The Daily Draw” below to get this instant download
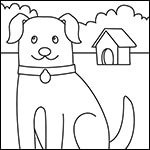
Dog Coloring Page
Materials to Draw a Dog
- Drawing Paper. This is the good stuff you can buy in bulk for a good price.
- Pencils. I like how this brand always makes nice dark lines.
- Black Marker. A permanent marker will give you a dark black color.
- Crayons. The larger packs are nice for more color choices.
- Note: All of the above are Amazon affiliate links.
Directions to Draw a Dog Step by Step
Time needed: 45 minutes
How to Draw a Dog in Step by Step
- Draw a collar and upside down U shape.
- Add two ears on top.
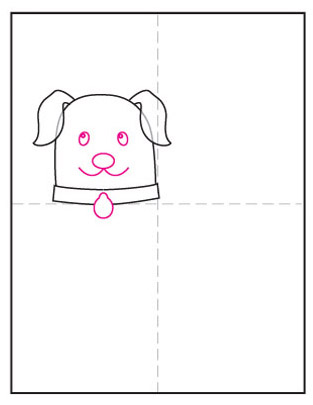
- Draw the face and dog tag. Erase inside ears.
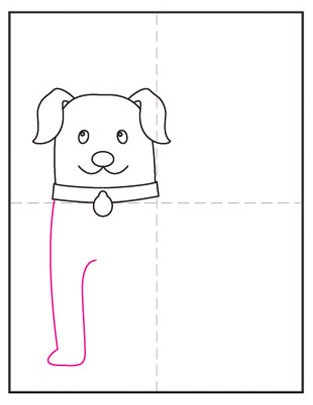
- Draw one front leg.
- Add the other front leg.
- Draw the back leg.
- Finish the back leg and tail.
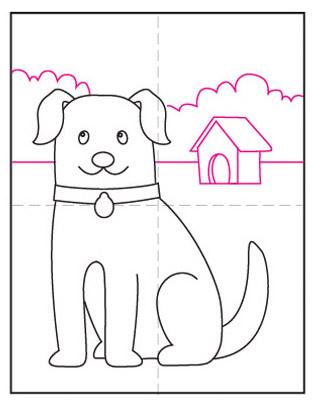
- Add a background and dog house.
- Trace with a marker and color.
