Easy How to Draw a Lego Self Portrait Tutorial Video and Lego Coloring Page
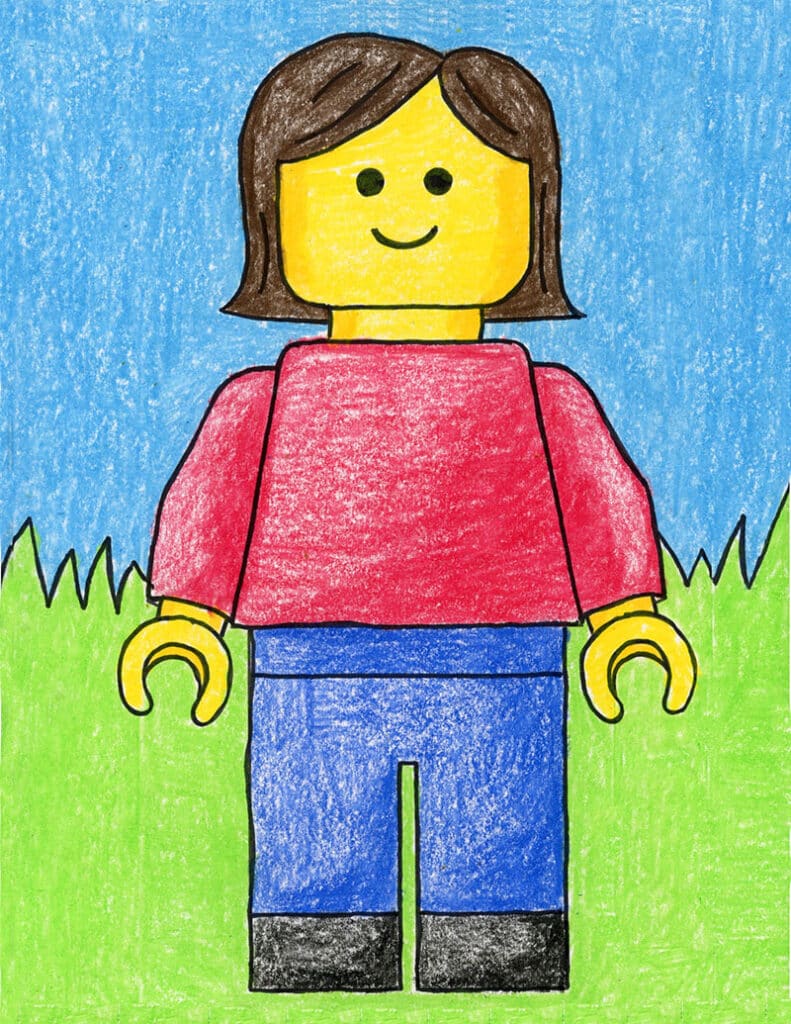
Below you’ll find an easy step-by-step tutorial for how to draw a Lego Self Portrait Tutorial Video and a Lego Self Portrait Coloring Page. A little shading can go a long way in making those flat shapes look 3D.
Lego Self Portrait Drawing
Lego Self Portrait Tutorial Video
Why draw a Lego Self Portrait?
If your students are ready to learn more about how to make a SHAPE look like it has FORM, and you would like to add some self-expression too, a Lego Self Portrait project might be just what you need. The bodies are really simple to draw – very geometric and symmetrical – and the face even more so! By simplifying all those aspects of drawing themselves, students can just focus on their hair, and the color and shading of their clothes. It’s so easy for them to get distracted and try to draw everything perfectly, that it’s helps to sometimes to take a few things off the table, so they can stay focused on the lesson.
If shading is new for your students, this project is a good introduction to the idea. Many are probably used to coloring with their crayons just one way, with a medium pressure that creates a medium shade of color. That’s great for starters, they just need to learn how to go back afterwards and press harder to make an even darker shade of color in certain areas.
The good thing about doing it with Legos is that the big shapes are so easy to work with. There are no small wrinkles or details to worry about, just large geometric shapes that gradually get a little darker in one corner.
Use the Button below to download a PDF Tutorial
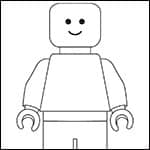
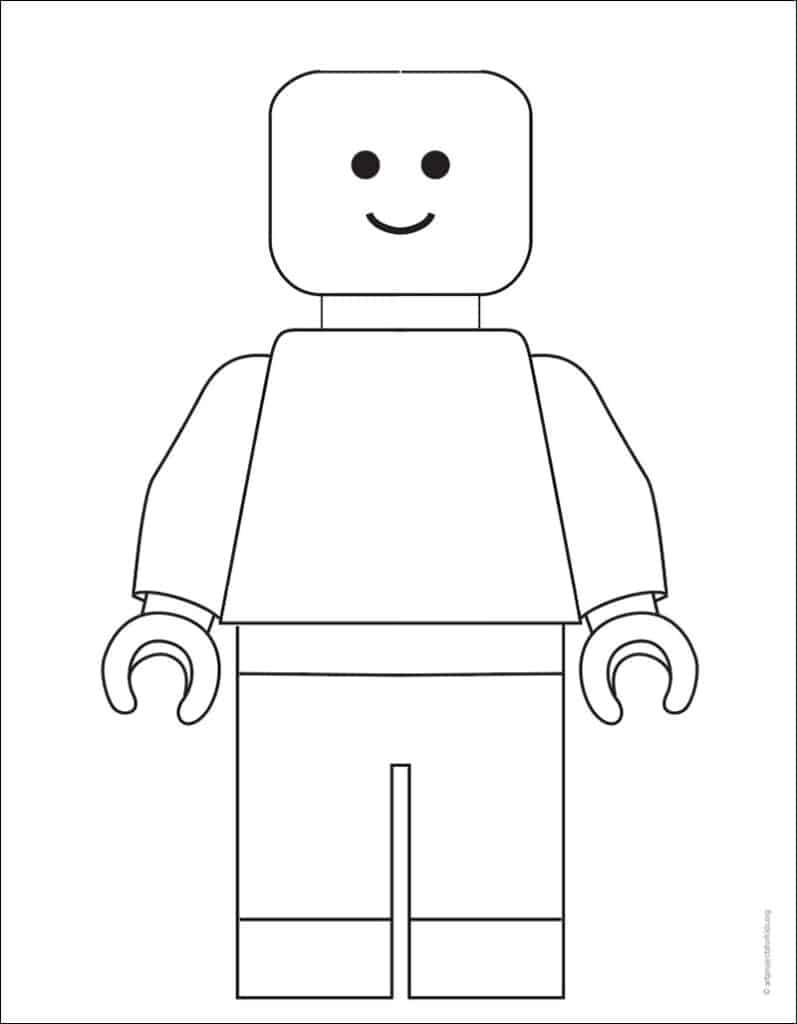
Lego Coloring Page
Materials
- Drawing Paper. This is the good stuff you can buy in bulk for a good price.
- Pencils. I like how this brand always makes nice dark lines.
- Black Marker. A permanent marker will give you a dark black color.
- Crayons. The larger packs are nice for more color choices.
- Note: All of the above are Amazon affiliate links.
Directions
Time needed: 45 minutes
Lego Self Portrait Drawing project
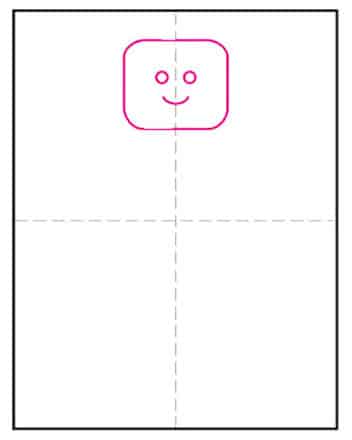
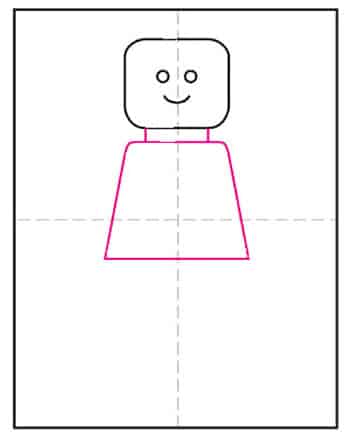
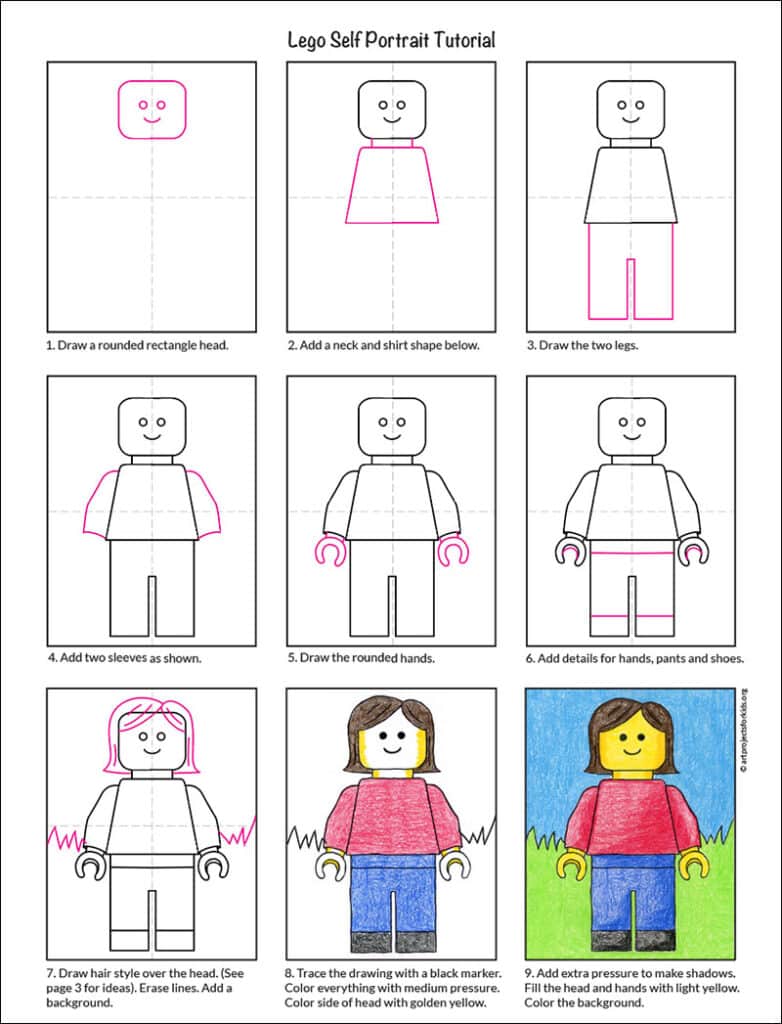
- Draw a rounded rectangle head.
- Add a neck and shirt shape below.
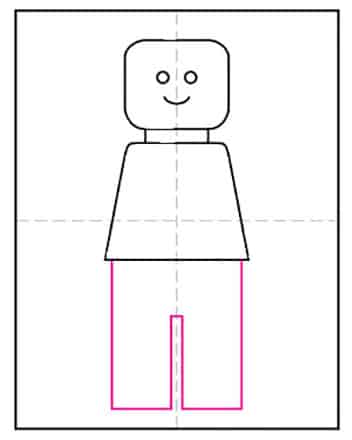
- Draw the two legs.
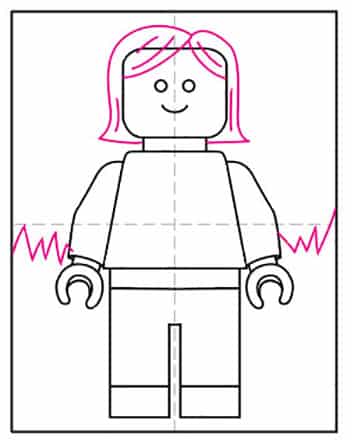
- Add two sleeves as shown.
- Draw the rounded hands.
- Add details for hands, pants and shoes.
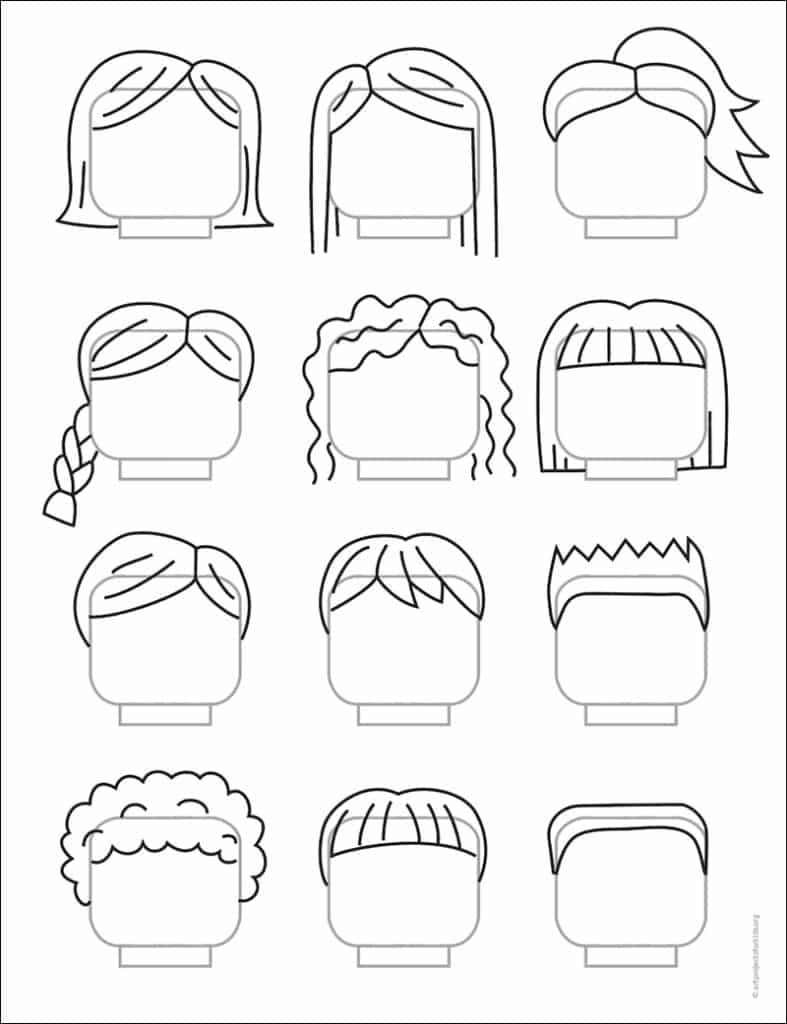
- Draw hair style over the head. (See pg. 3 of download) Erase lines and add a background.
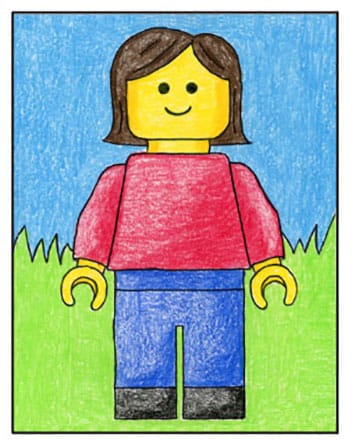
- Trace the drawing with a black marker. Color everything with medium pressure. Color the side of the head with a golden yellow crayon.
- Add extra pressure to make shadows. Fill the head and hands with light yellow crayon. Color the background.


