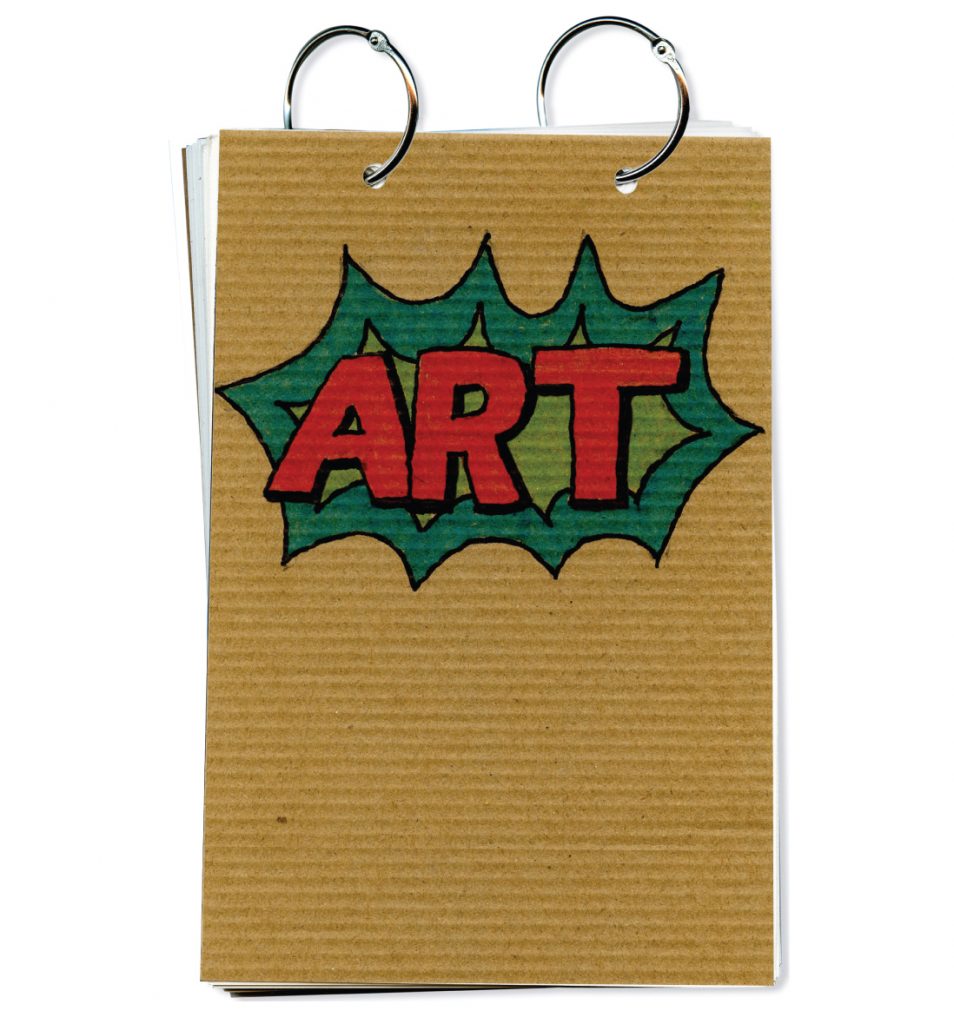
How to Draw an Art Journal Cover
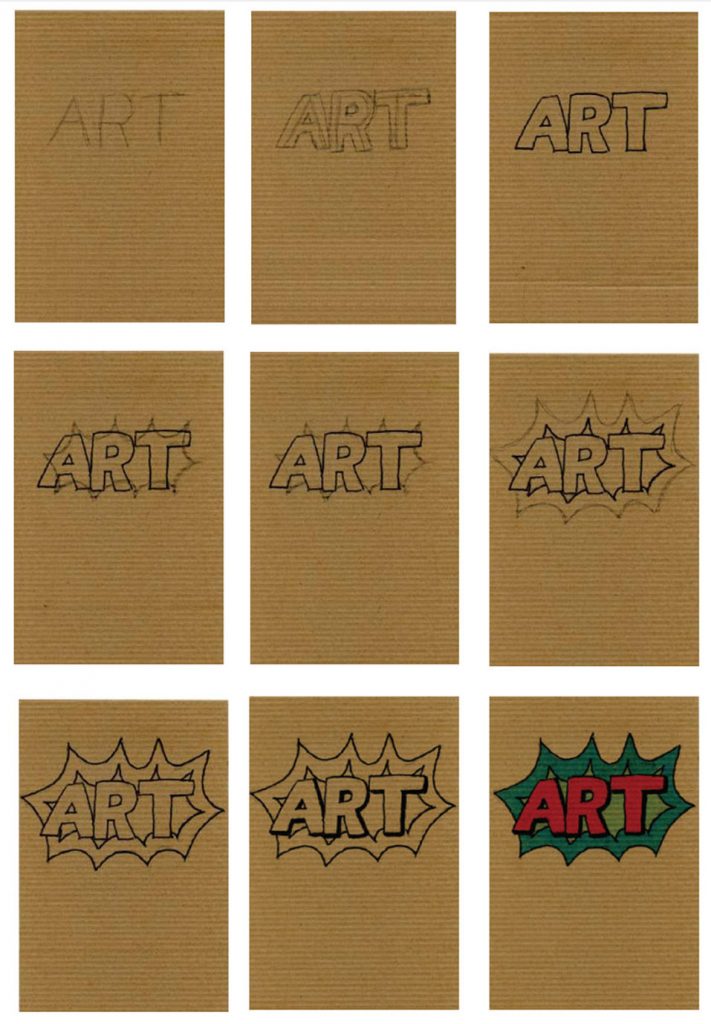
Below you’ll find an easy step-by-step tutorial for how to draw an Art Journal Cover. It’s easy to learn how to put letters in front of a burst, when you do it one step at a time.
Use the button below to download this free tutorial
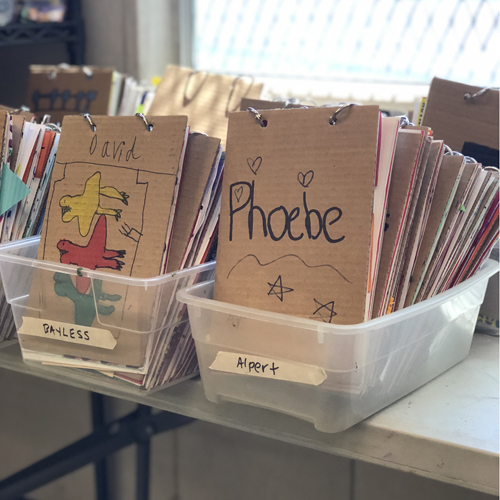
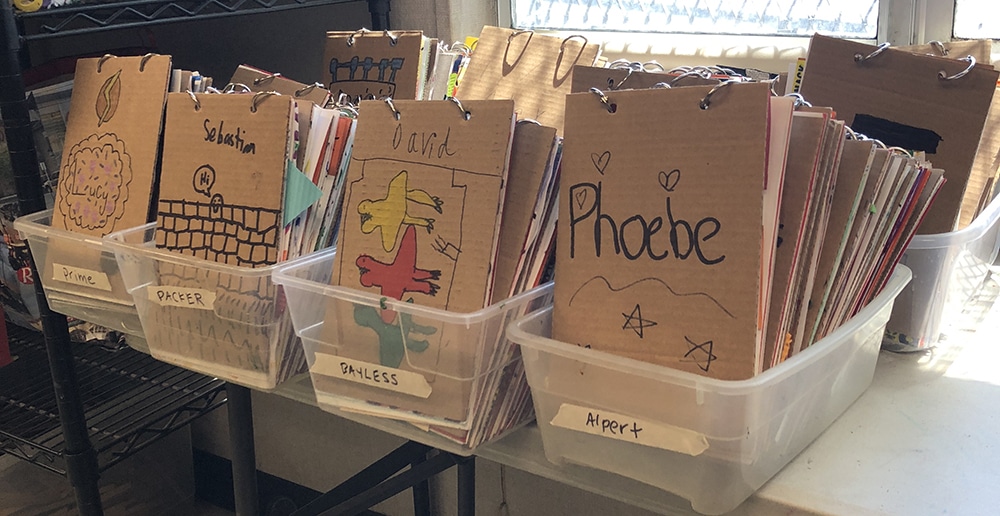
Years of experimenting in the classroom helped me develop a very inexpensive way to make art journals with hundreds of students, for just pennies apiece. And rather than create more work they actually streamlined the classroom process.
Whenever possible, I would provide students with corrugated cardboard for the cover. After watching too many of them just scribble their name on the front, I started making cover art one of the projects. This cartoon lettering was a favorite. You can read more about my Recycled Art Journals HERE.
Click below to learn more about Recycled Art Journals
Materials to Draw an Art Journal Cover
- Corrugated Cardboard. Please try to recycle use old boxes.
- Pencils. These are my favorite and make nice dark lines.
- Black Marker. The perfect medium size tip marker for tracing.
- Colored Markers. I love this Stabilo brand. The color selection can’t be beat.
- Note: All of the above are Amazon affiliate links.
Step by Step directions for an Art Journal Cover
Time needed: 1 hour
How to Draw Letters
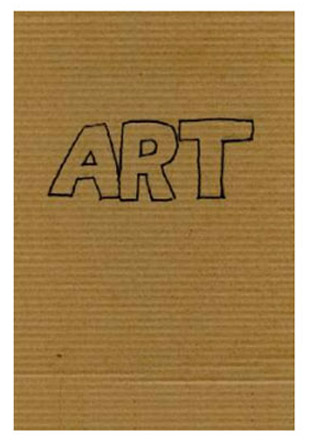
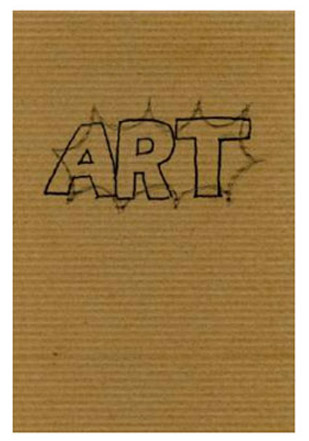
- Lightly draw large capital ART stick letters.
- Trace around the stick letters to turn them into block letters.
- Trace the block letters with a marker. Erase pencil lines.
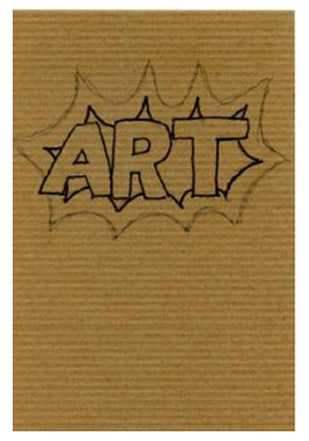
- Draw a burst in pencil. Note: It MUST be smaller than the letters.
- Erase all the burst lines inside the block letters.
- Trace small burst lines with a black marker. Draw a larger burst around the outside.
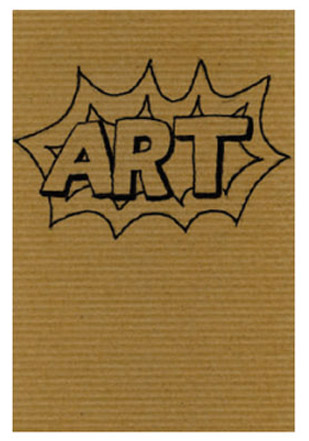
- Trace the larger burst with the marker.
- Use the marker to draw a shadow on the bottom and right of each letter.
- Color with markers, using contrasting colors.
