Easy How to Draw a Birthday Cake Tutorial
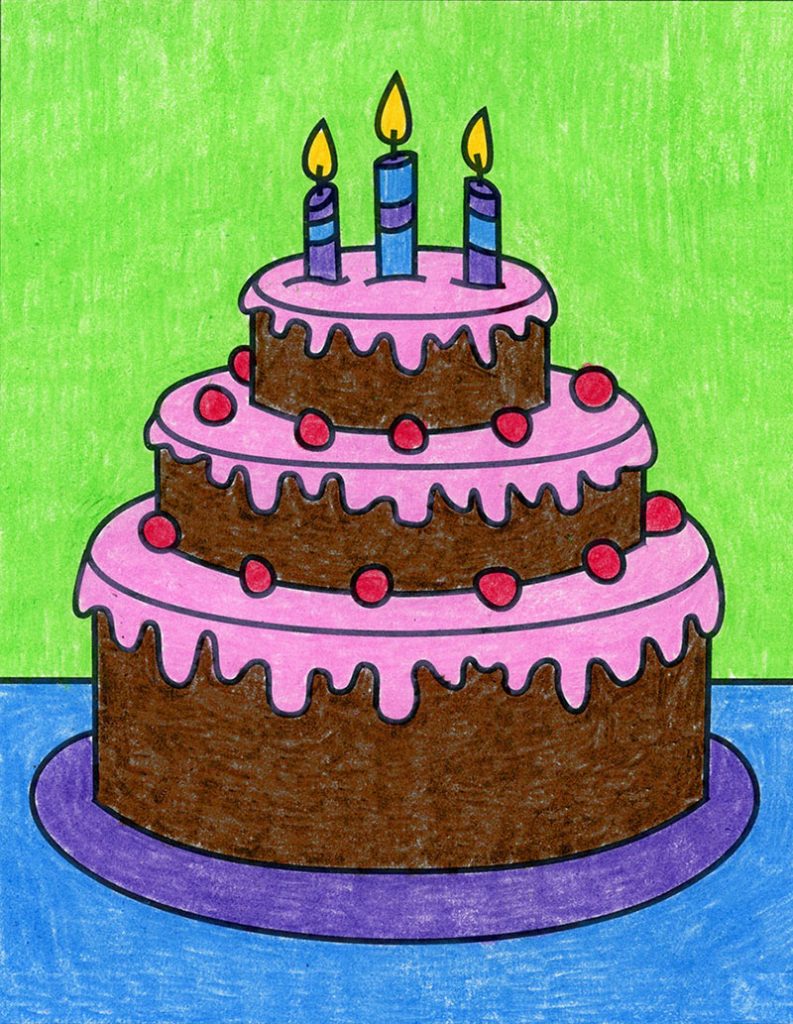
Learn how to draw a birthday cake that looks good enough to eat. It can be the cake of your dreams, when you are the artist! An easy step by step tutorial will show you where to start and how to finish.
Here’s a bit of birthday cake trivia for you. Did you know that the idea of celebrating ones birthday dates all the way back to the Egyptians? And the notion to use cakes in the celebration originates even earlier, as with the ancient Greeks? You then have to fast forward all the way to German culture to get to the idea of adding a certain number of candles on top.
Today, having candles and blowing them out is exactly what turns a cake into a birthday cake. The cake itself could can any size and shape, color or flavor, but having the candles and the candle-blowing moment is what makes birthdays so special to so many children and adults.
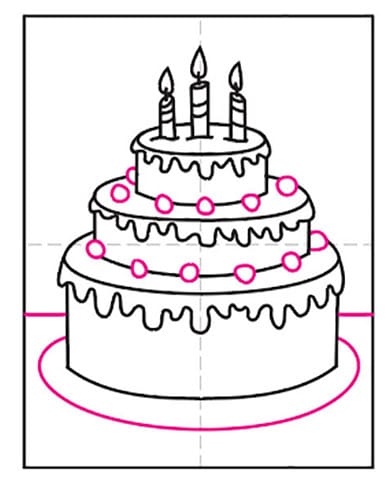
The great thing about learning how to draw a birthday cake, is that children can decide all the details about how they want it to look. This tutorial will help them get started with three stacked tube shapes, which is a good lesson in drawing forms, by the way, and they can finish with their own frosting and decorations. It could be a great beginning of a homemade birthday card … or poster for that matter. Birthdays are a time to think big!
Use the Button below to Download a PDF Tutorial
Materials for a Birthday Cake Drawing
Directions to Draw a Birthday Cake Step by Step
Time needed: 45 minutes
How to Draw Birthday Cake
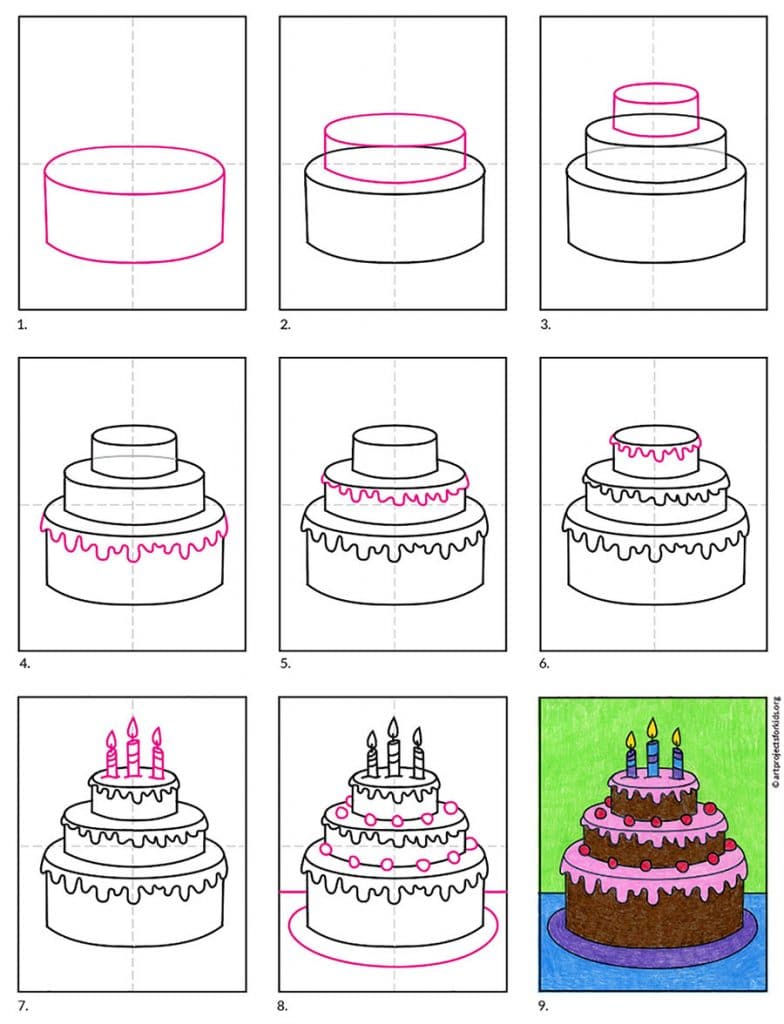
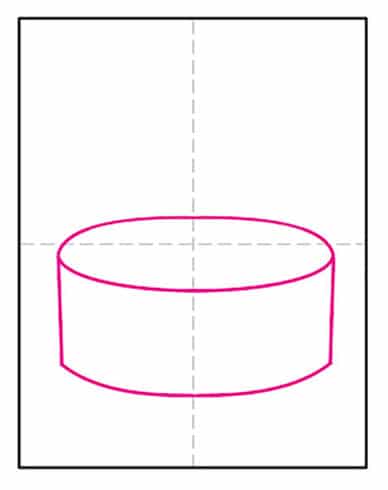
- Draw a tube for the bottom layer.
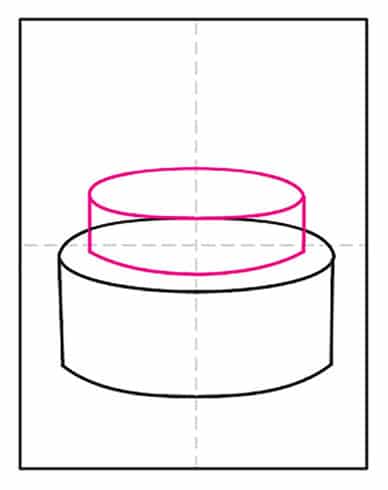
- Add a smaller tube shape on top
- Erase line, add a smaller tube on top.
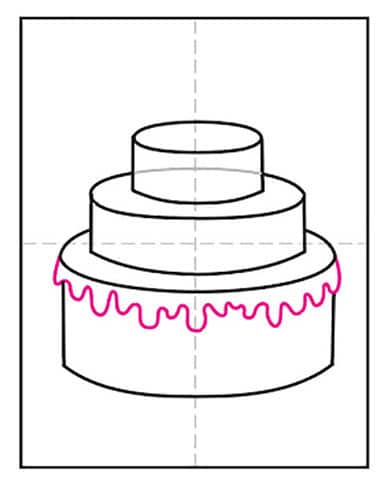
- Erase line and draw drippy frosting.
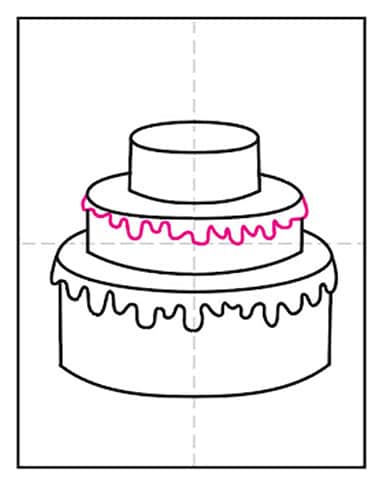
- Add another drippy edge of frosting.
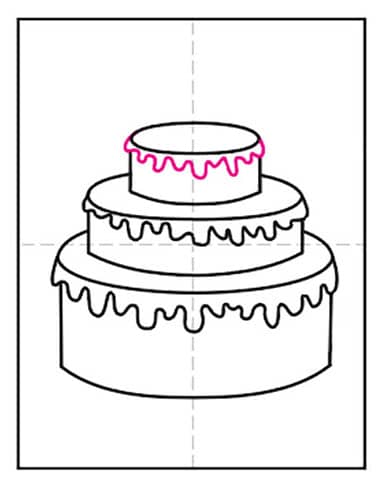
- Add the last drippy edge of frosting.
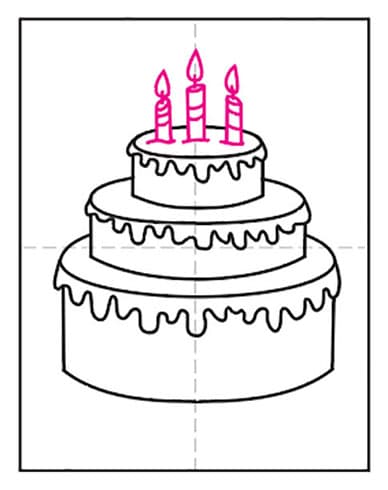
- Draw candles on top.
- Add cherries or candy and a plate.
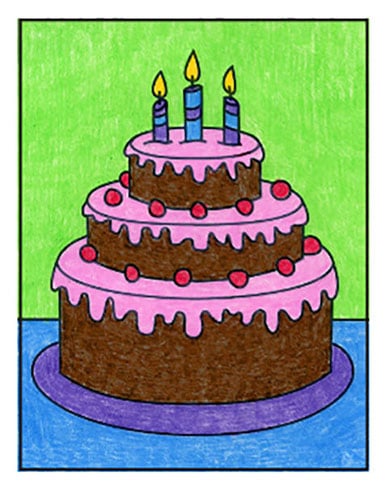
- Trace with a marker and color.




Read More Articles- Cake Drawing