How to Make a Craft Spider: Pipe Cleaner Tarantulas
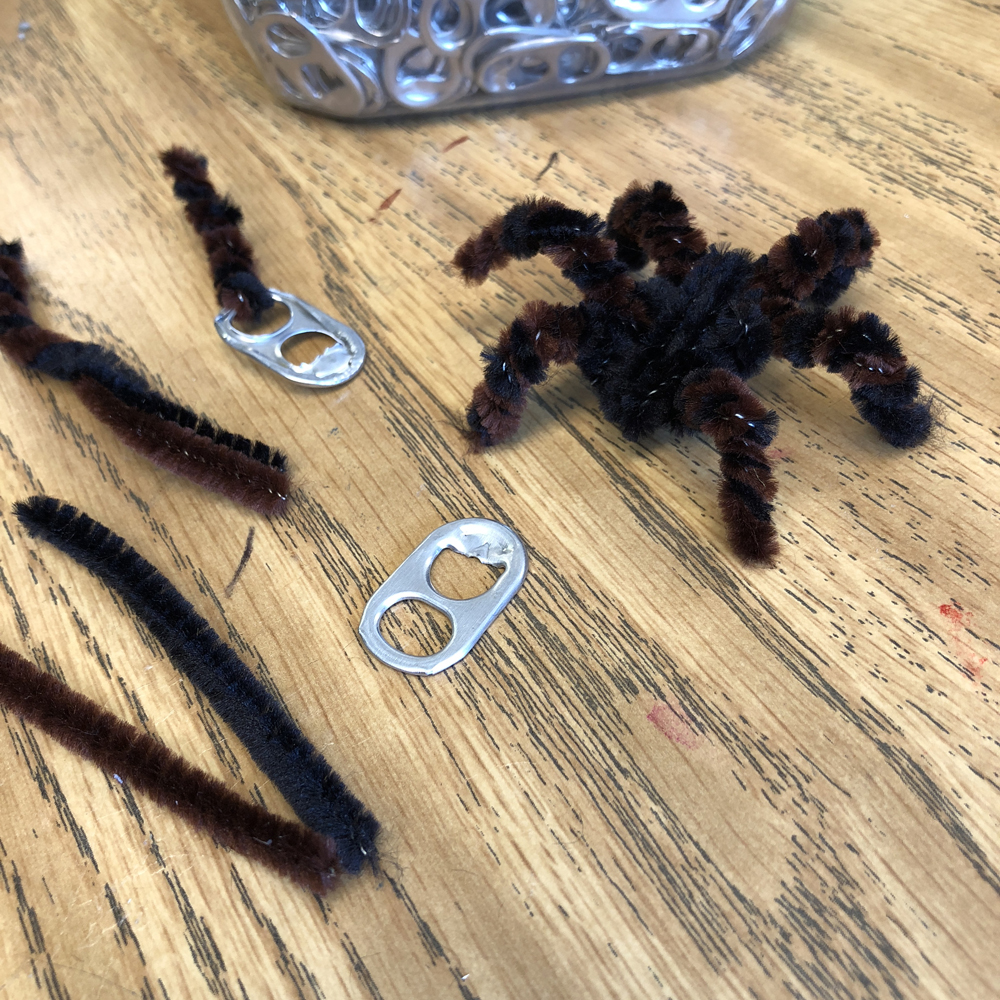
Below you’ll find an easy craft spider project. This Tarantula is made from just pipe cleaners that are twisted around soda tabs.
I suspect that people have been making craft spiders from pipe cleaners ever since they were invented. The thing that makes these stand out though, is the simplicity of supplies, and the ability to make the spider easily stand up, and look real. It’s pretty easy to just insert the pipe cleaner in one of the holes of the soda can tab, twist it until it stays in place, and then bend. Students that take the time to really twist the legs as much as they can, will be rewarded with spider legs they can shape just the way they want. Those that rush will have floppy legs that just lie flat. Perseverance is a pretty good lesson to learn, even from a craft project!
Materials for a Craft Spider
- Aluminum can tabs
- Pipe cleaners, black and brown
- Scissors
Step by Step Directions for a Craft Spider
- PREP: Cut pipe cleaners into 4″ lengths.
- Students start with one black and one brown pipe cleaner and twist them together to make one that is multi colored leg.
- The multi colored leg is inserted into one of the aluminum tabs. It is folded in half and twisted a LOT to make one leg. It needs to be twisted close to the tab until it stays firmly in place.
- The step is repeated until there are four legs attached to each hole, or a total of eight legs.
- The legs are bent to look like spider legs.
- If any of the tab still shows, use extra pipe cleaners to wrap the belly to make it all black or brown.
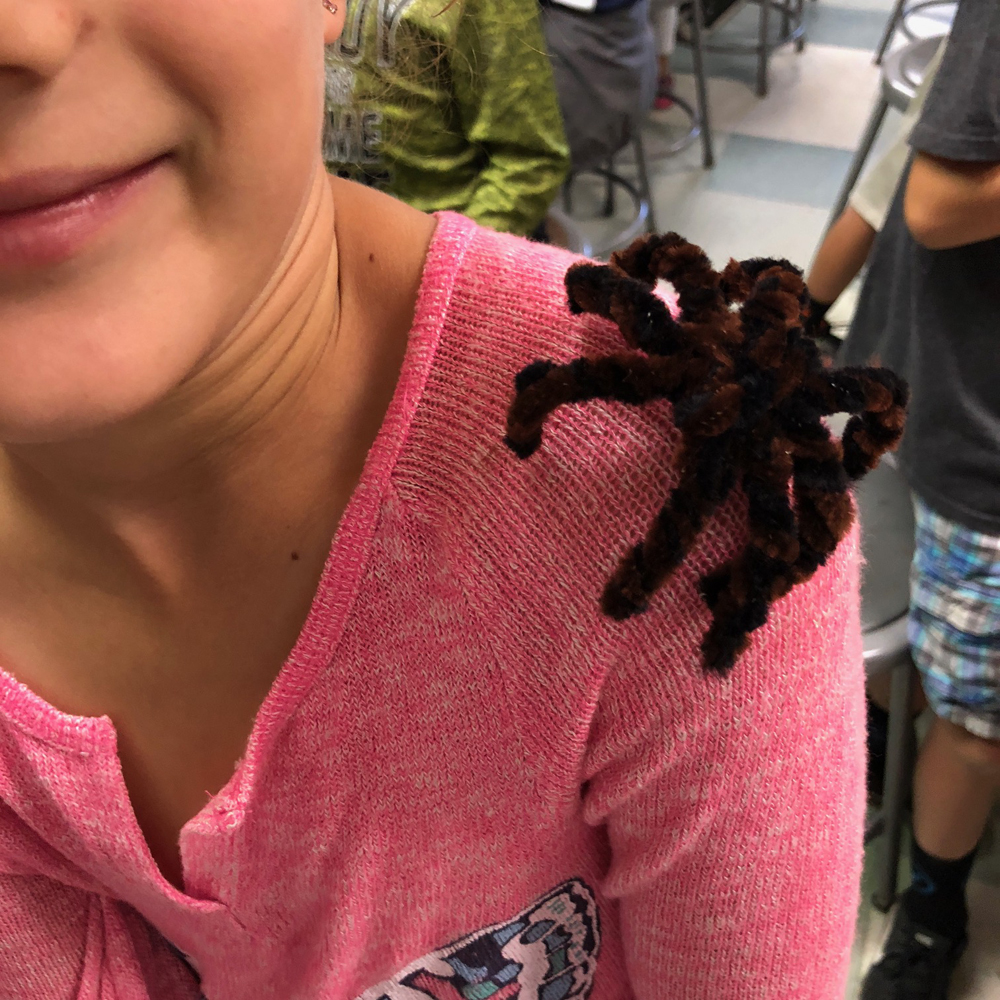
NOTE: The giant tarantula pictured in the girl’s hand below was by a creative fourth grader. She twisted together the 4″ lengths I had precut, made longer legs, and bundled more to make an abdomen. Clever girl! I would challenge students to figure out how to do it with only wrapping and twisting. No glue needed. It would just get messy in a hurry.


