How To Paint A Koi Fish: A Step By Step Guide and Video
Learn more about Koi fish with an easy step-by-step How to Paint a Koi Fish Tutorial and Koi Fish Coloring Page.
Koi Fish Painting Video Tutorial
Why paint Koi Fish?
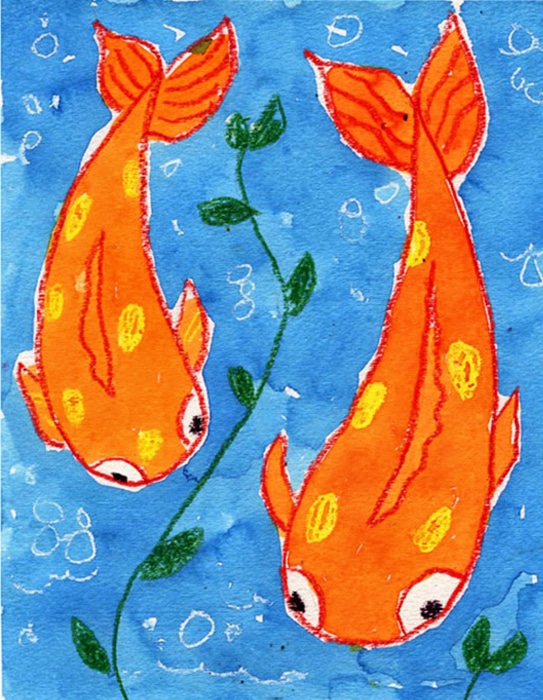
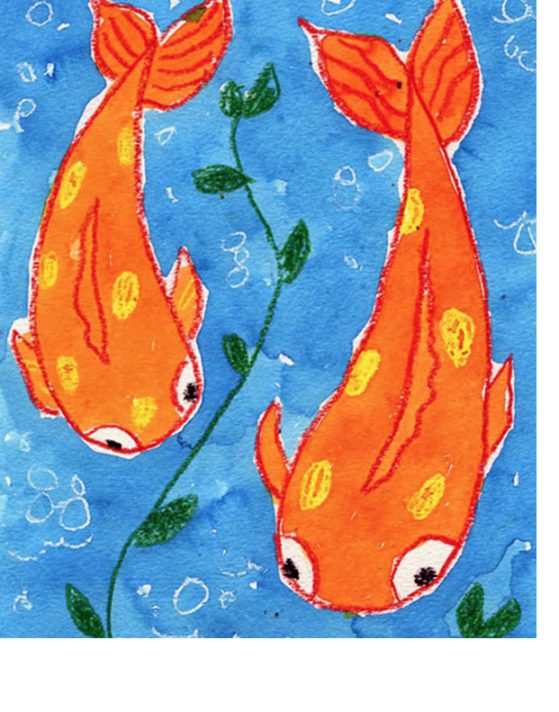
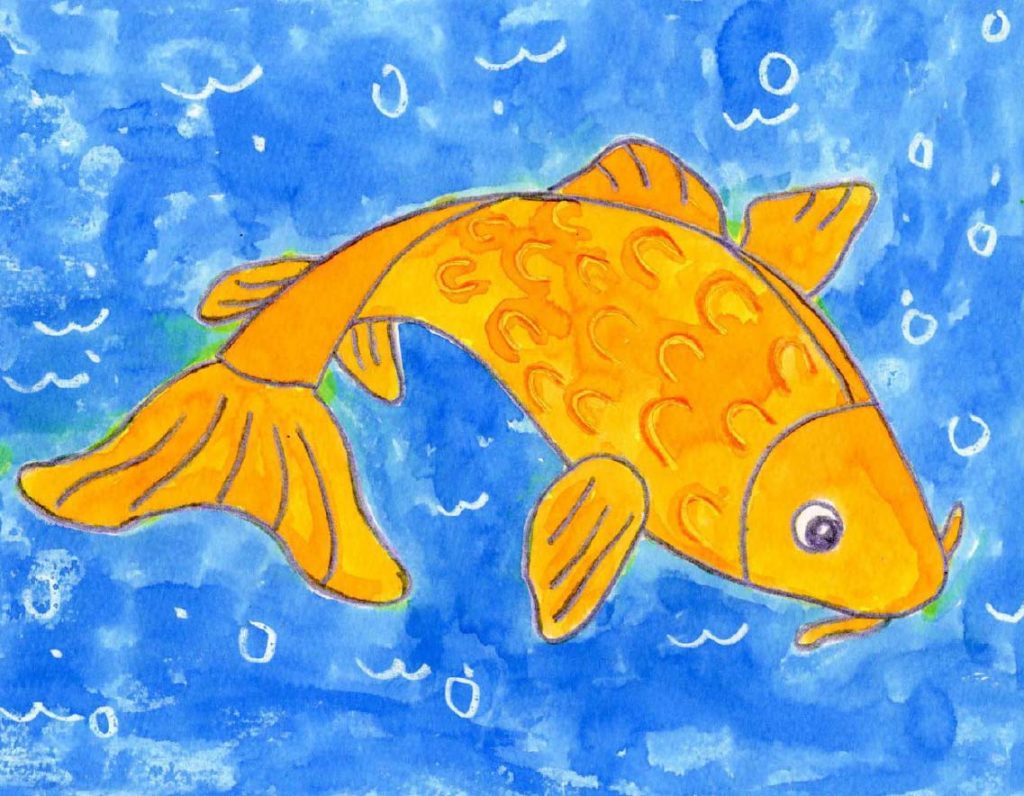
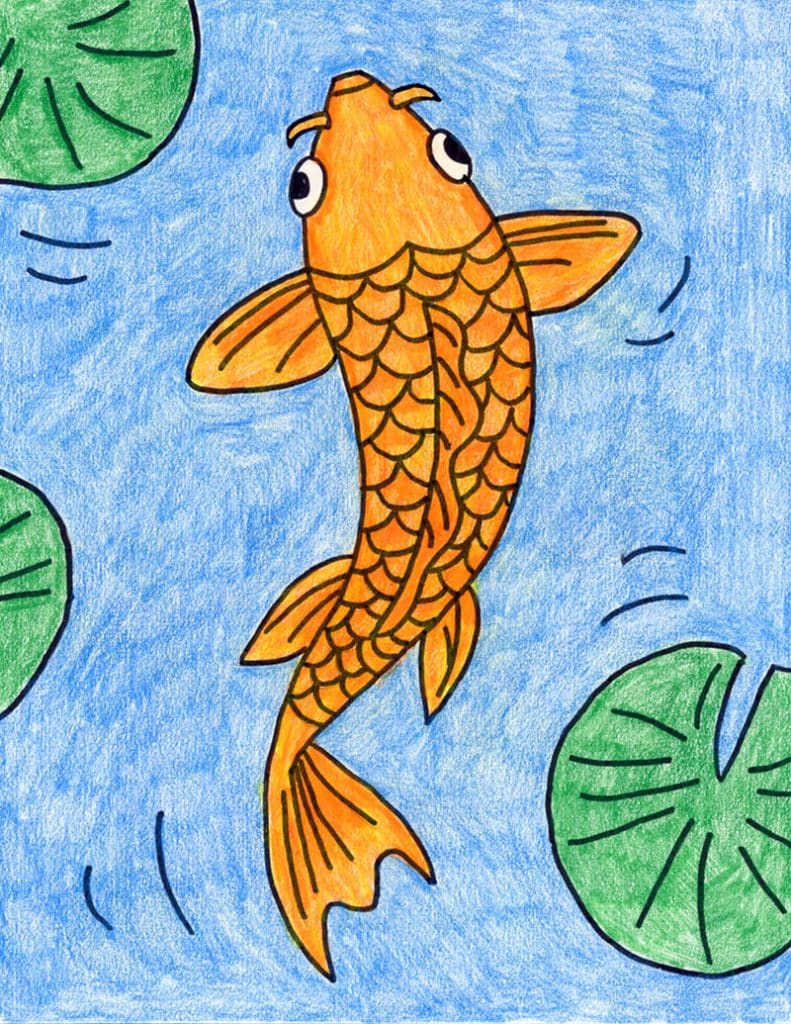
A tutorial for learning how to paint a Koi Fish has a lot to offer young students. The view from overhead keeps the shapes really simple and graceful. As a watercolor resist, there’s the fun of adding white crayon lines for bubbles (always fun when they appear!) and the blue and orange combination just make theWfish pop off the page.
Koi fish are an ornamental species that descend from the carp family. Chinese were farming carp in rice paddies, a practice that traveled to Japan. The Japanese noticed odd color variations in some of the carp and bred them, creating the koi species. Koi used to only be found in red, white, black and blue, but have since been bred in different combinations of all the colors in the rainbow. Today, the most popular tend to be the lovely orange, white and yellow fish.
Getting Started with Drawing Guides
The best way to get students off to a good start to any drawing lesson is to show them how to use guides as a reference point.
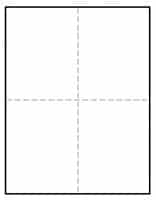
You may have noticed that all of the tutorials on this site have a dashed line running through the center of each step, both in the horizontal and vertical direction. If students make their own centered lines on their own paper, before drawing, they will have an easy reference to follow.
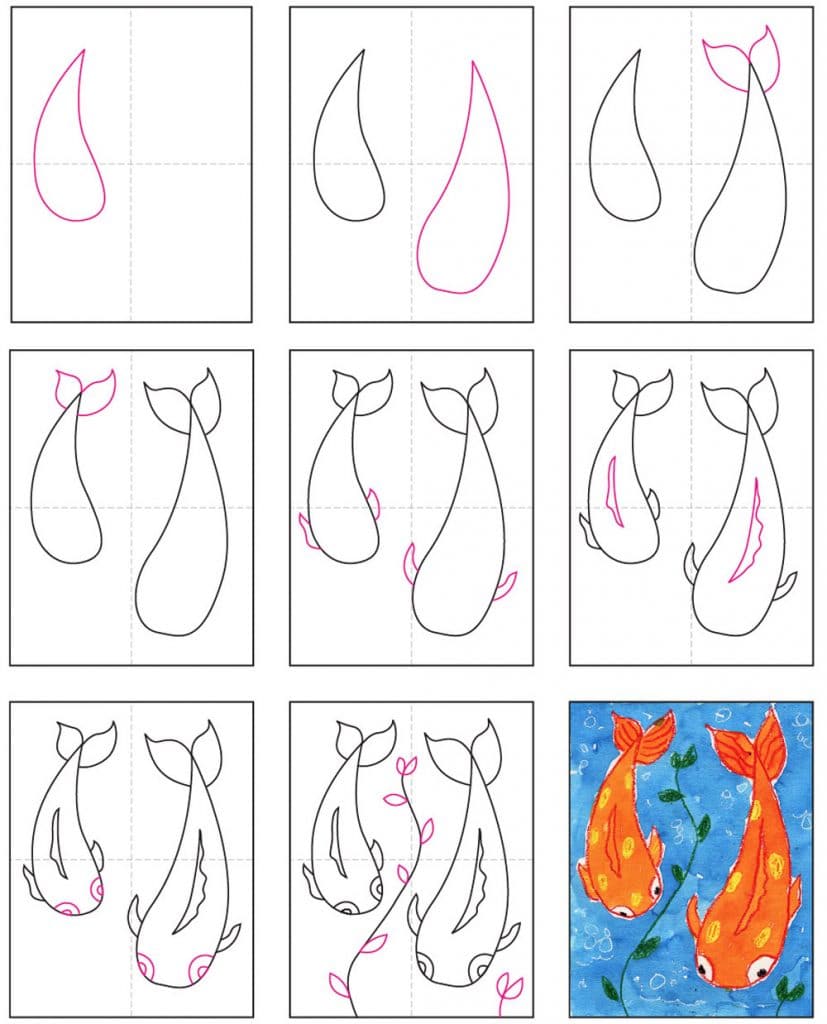
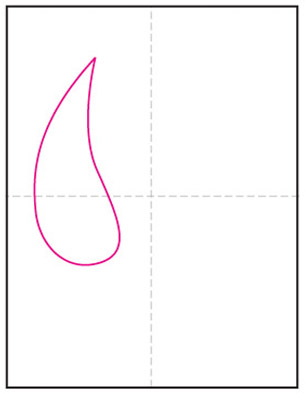
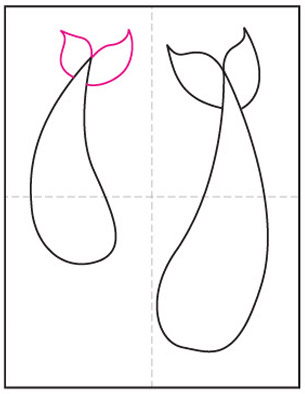
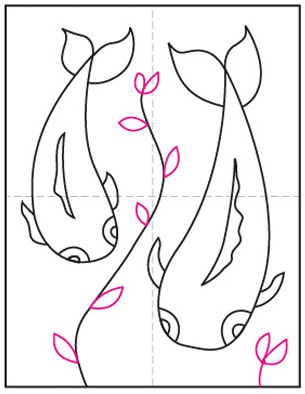
For instance, as seen in Step 1 below, the teardrop shape needs to be sitting on the left half of the paper, and closer to the top than the bottom. It’s important to sketch that shape big enough and high enough on the sheet of paper so that there’s room for the larger fish on the right. When beginners get their drawing off to a good start, there’s a better chance of them feeling successful by the time they are done.
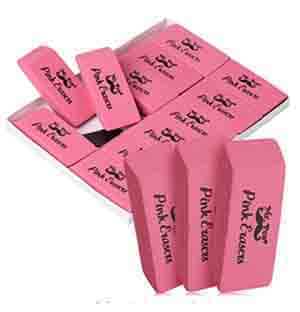
So how do students get their lines on their paper? Folding is not recommended for watercolors because it will leave creases, not to mention make the thick paper harder to work with. Instead, it’s recommended that teachers of young students find a quick way to add the lines in pencil before hand. Older ones that can measure and draw on their own can make the lines themselves. Just be sure to emphasis these lines must be drawn lightly, so they can get erased before painting.
Use Button below to download a PDF Tutorial
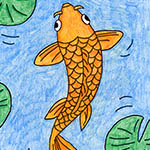
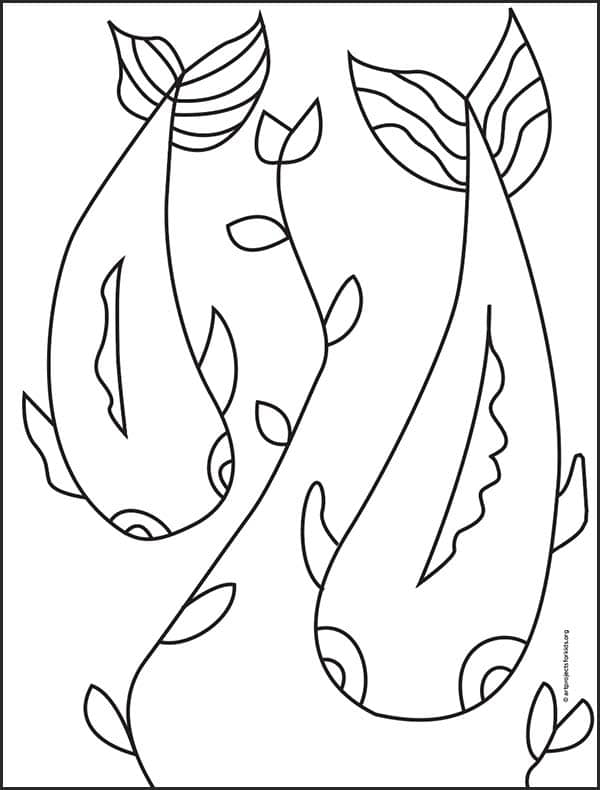
Koi Fish Coloring Page
How to Paint a Koi Fish Materials
Note: This post contains affiliate links. If you click and take action, I will be compensated a small amount at no expense to you.
- Watercolor Paper.
- Real watercolor paper always makes the watercolor paint much more vibrant.
- Pencil.
- The Ticonderoga brand are the most reliable, make nice dark lines when you need them, and are the easiest to erase.
- Rounded Watercolor Brush.
- A good paint brush can make all the difference in the world. Who can paint small details with one of those big floppy brushes? This style with a sturdy rounded tip were my hands down favorite.
How to Draw and Paint a Koi Fish Directions
Time needed: 1 hour
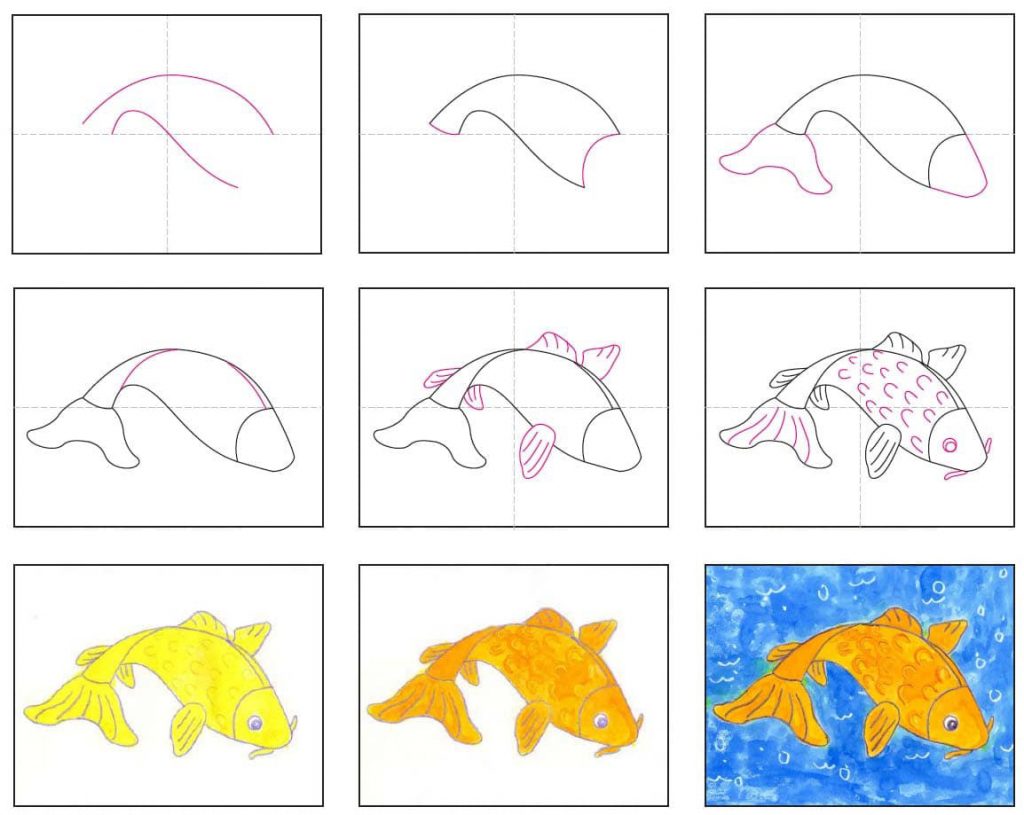
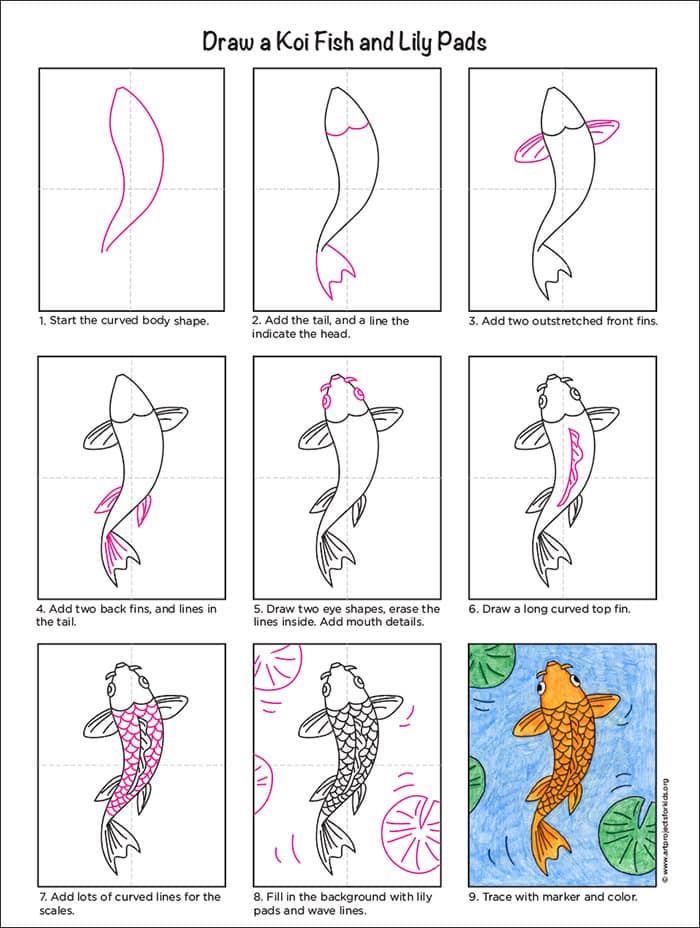
How to Paint a Koi Fish in 9 Easy Steps
- Draw a medium teardrop shape.
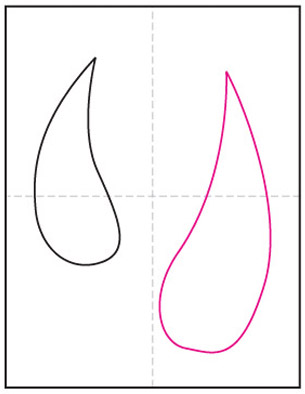
- Draw a large teardrop shape.
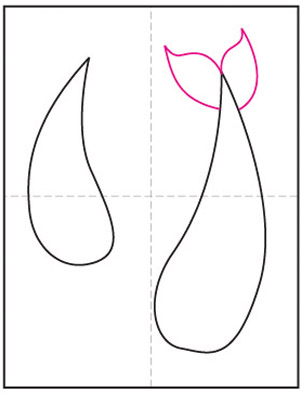
- Add a tail to the large fish.
- Draw a tail on the medium fish.
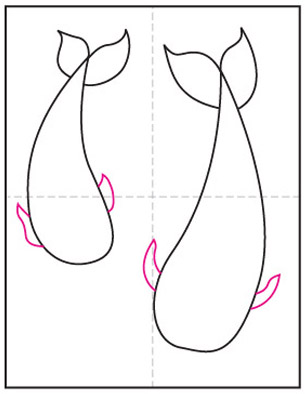
- Add pectoral fins to both fish.
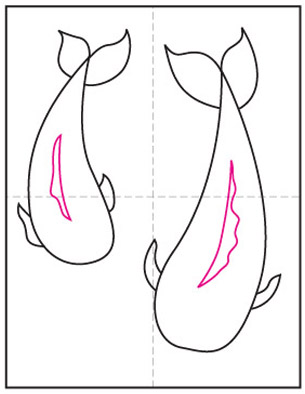
- Add a dorsal fin on the back of each fish.
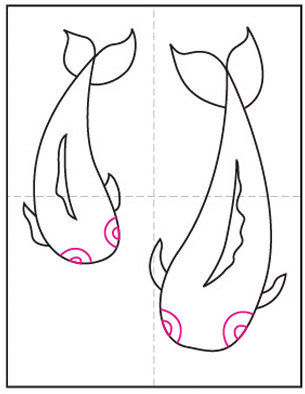
- Draw the tops of the eyes.
- Draw wavy plants in between.
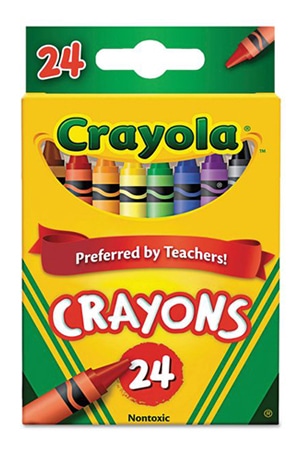
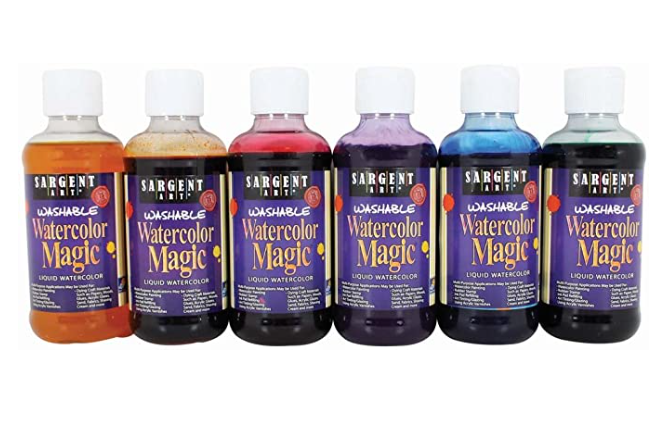
- Trace with a crayon and paint with watercolor.

