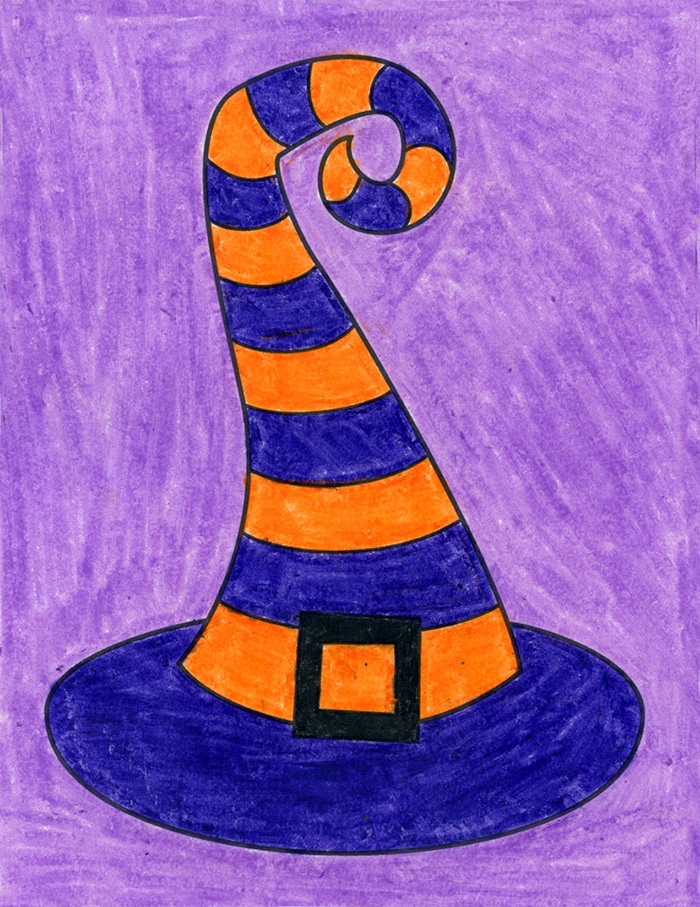
Easy How to Draw a Witch Hat Tutorial and Witch Hat Coloring Page
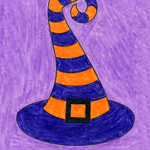
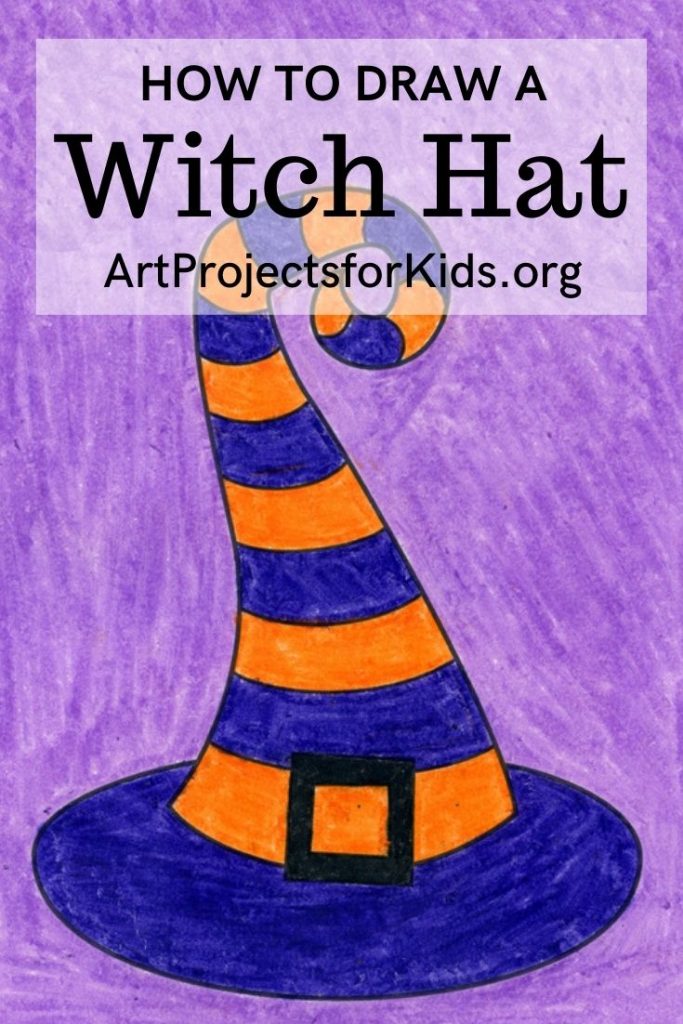
Below you’ll find an easy step-by-step tutorial for how to draw a Witch Hat and a Witch Hat Coloring Page. A few stripes will make it look extra dimensional!
More Halloween
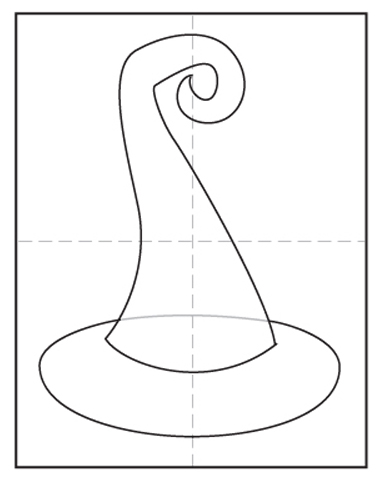
Drawing of a Witch Hat
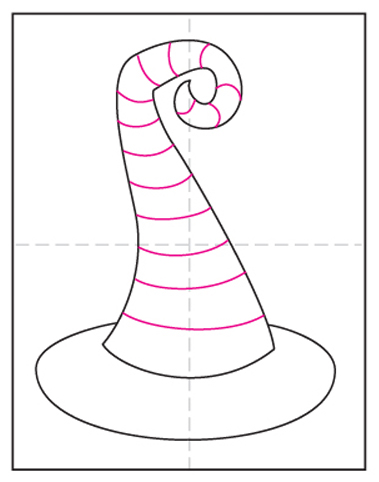
This is, of course, a fun drawing project for Halloween, but you could also add a little ELEMENTS OF ART lesson to it too. After all, the mere act of making those stripes with a slight curve, as opposed to straight lines, are exactly what make this a very round looking hat, instead of a flat one. And LINE and SHAPE are definitely two ELEMENTS OF ART terms.
Also, if the stripes already make it look dimensional, think of how cool it would be to add some shadows on one side too? Just be sure to test your color combinations out first though. Some black crayons mix well with dark blues, but the transparent orange crayons need some other other help. Neither black or gray will blend with orange. You might consider a yellow on one side and orange on the other to imply a kind of highlight. Lots of options, but like I said, test them first.
Pin me to your Pinterest Board
Use the Button below to Download a PDF Tutorial
Witch Hat Coloring Page

Materials to draw a Witch Hat
- Drawing Paper. This is the good stuff you can buy in bulk for a good price.
- Pencils. I like how this brand always makes nice dark lines.
- Black Marker. A permanent marker will give you a dark black color.
- Crayons. The larger packs are nice for more color choices.
- Note: All of the above are Amazon affiliate links.
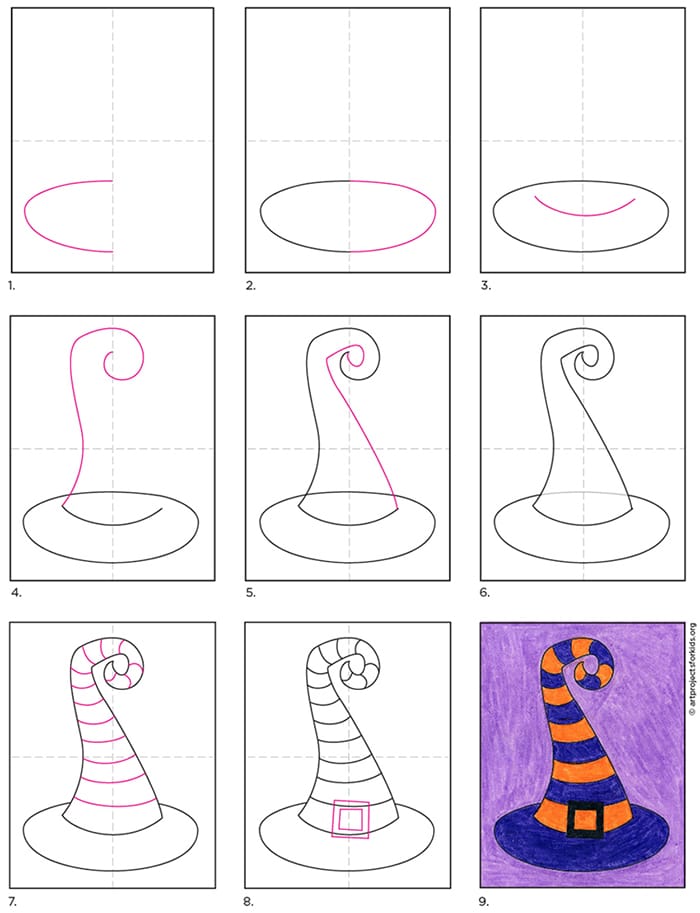
Step by Step Directions for a Witch Hat Drawing
Time needed: 45 minutes
How to Draw a Witch’s Hat
- Draw half of an oval.
- Finish with the other half.
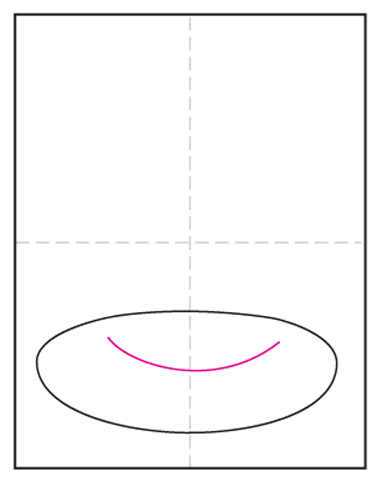
- Draw a curve in the oval.
- Add one curly side of the top.
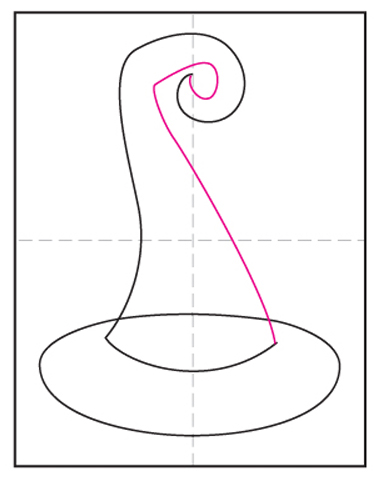
- Finish with the other side.
- Erase the line inside the top.
- Fill the top with curved stripes.
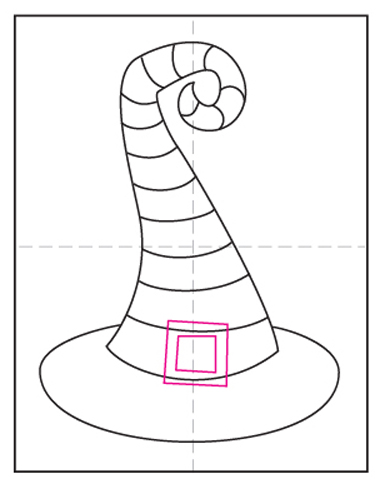
- Add a buckle.
- Trace with marker and color.
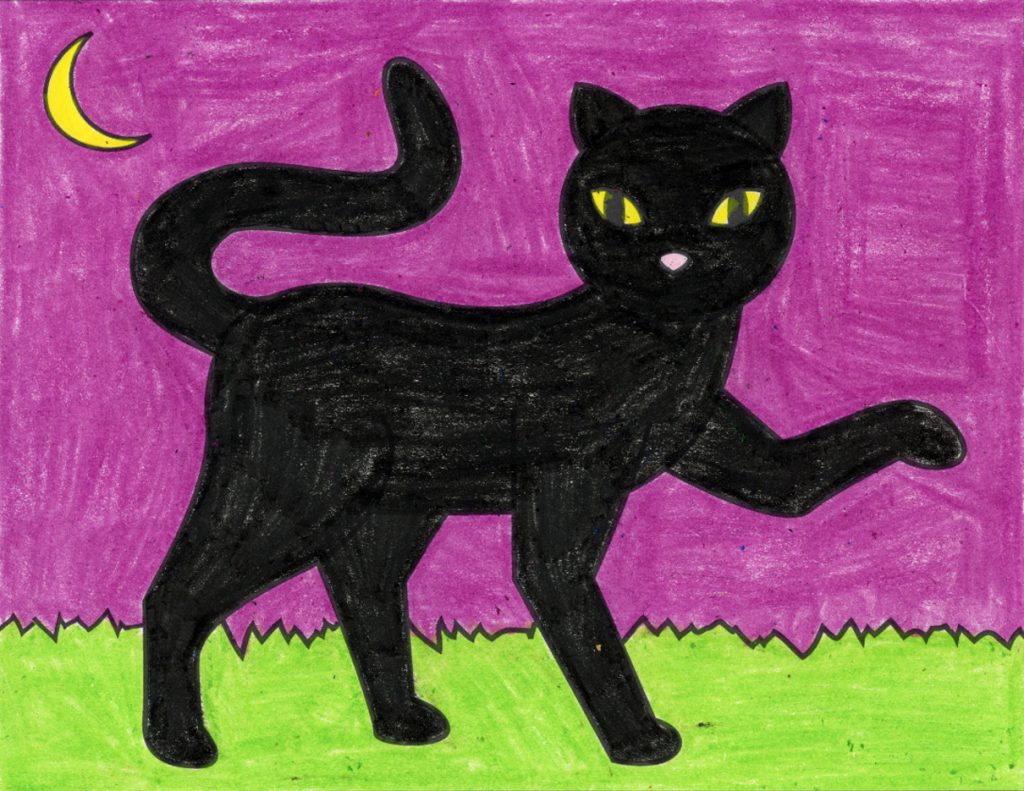
More Halloween Drawing Projects
